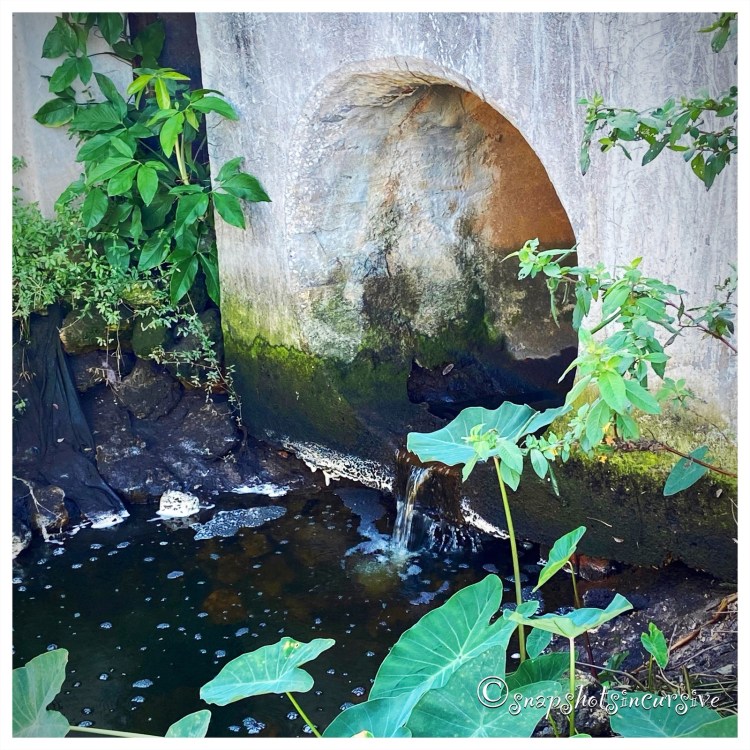
“When I think of art, I think of beauty.
Beauty is the mystery of life.
It is not in the eye, it is in the mind.
In our minds there is awareness of perfection.”
~ Agnes Martin

“When I think of art, I think of beauty.
Beauty is the mystery of life.
It is not in the eye, it is in the mind.
In our minds there is awareness of perfection.”
~ Agnes Martin
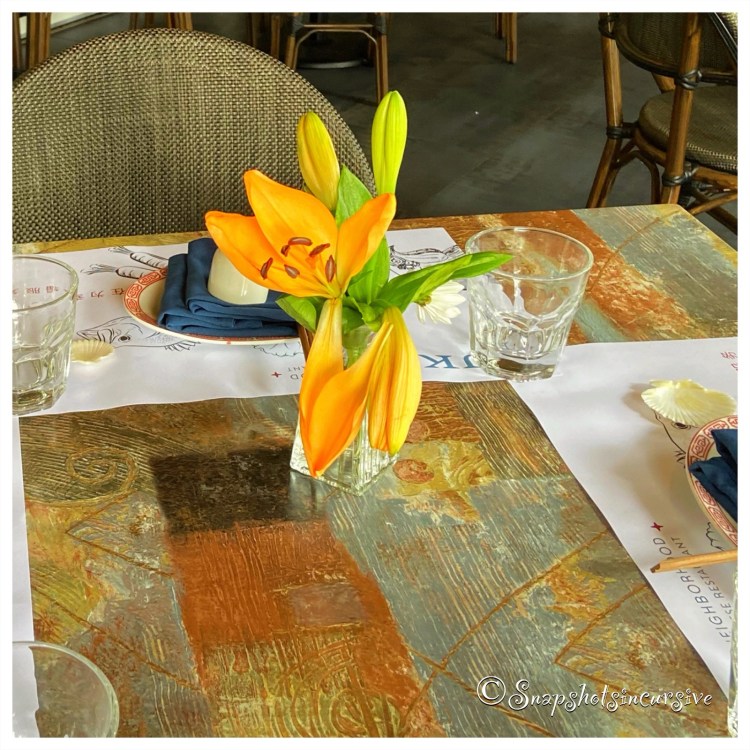
“Flowers are the sweetest things
God ever made and forgot
to put a soul into.”
~ Henry Ward Beecher
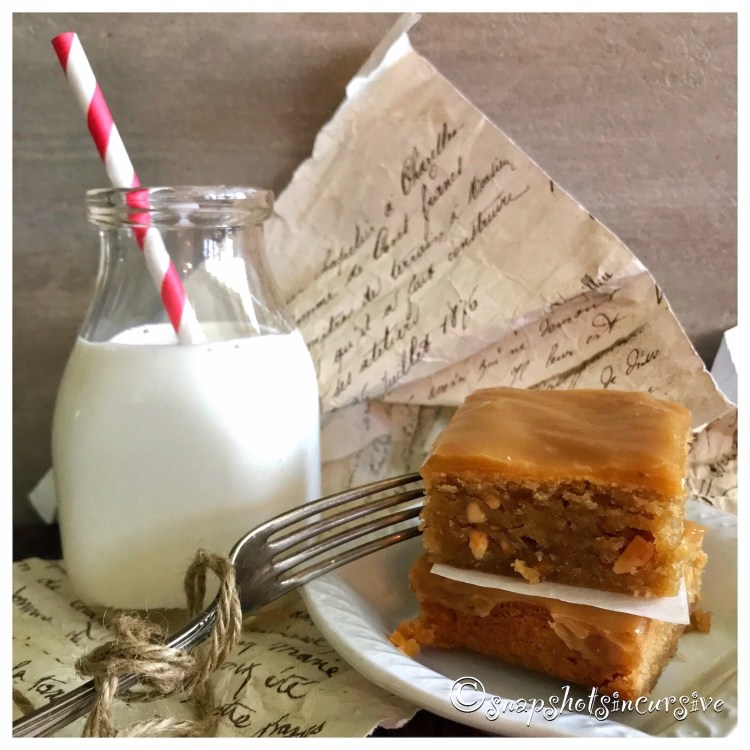
What’s Cooking in Gail’s Kitchen? Splurge-Worthy Goodness: School Cafeteria Peanut Butter Bars! Remember the good old days when the grade school menu would come out and we’d peruse it like the Sears and Roebuck Christmas Catalog? We’d jump for joy when we saw Fish Sticks, Baked Meatloaf, Apple Crisp, Chocolate Cake, and Pizza Squares. On the other hand, Creamed Spinach made us wince and turn up our noses. Back then you had two options, buy a hot lunch ticket or bring a sack lunch from home. No in-betweens. As a general rule, the good canceled out the bad, especially in the category of scrumptious desserts. The “Lunchroom Ladies” really knew their business when it came down to sweets. Nobody could layer on the frosting like they could. And it was always homemade right there. I wonder who got to lick the spoon.
SCHOOL CAFETERIA PEANUT BUTTER BARS
Ingredients:
1/2 cup butter
3/4 cup peanut butter, creamy
3/4 cup sugar
1/4 cup brown sugar
3/4 teaspoon kosher salt
2 eggs, room temperature
1 1/2 teaspoons vanilla extract
1 cup flour
Ingredients for Icing:
1/2 cup powdered sugar
2 tablespoons creamy peanut butter, melted
2 tablespoons hot water
Instructions:
Preheat oven to 350°. Line a 9”x9” square baking pan with parchment paper. Set aside. Melt butter and peanut butter in a microwave-safe bowl on 50% for 30 seconds. Stir and repeat, if necessary. Set aside to cool to room temperature. In a large bowl, sift together sugar, brown sugar, and kosher salt. Whisk in one egg at a time until combined. Add vanilla extract. Whisk in peanut butter mixture until combined. Sift in flour; mix until flour disappears. Do not over mix. Pour into prepared pan. Bake for 35-40 minutes, or until cake tester comes out with tiny moist crumbs. Cool pan on a wire rack. Once the pan has cooled, remove the cake from pan and transfer on the parchment paper to a rimmed baking sheet. Combine powdered sugar, creamy peanut butter, and hot water. Stir until frosting has a smooth consistency. Drizzle over dessert. Allow icing to set up before cutting into individual bars.

What’s Cooking in Gail’s Kitchen? Splurge-Worthy Goodness: Raw Honey Peanut Butter Cookies! No baking required. Wait, whaaat? These bite-size morsels are not only healthy as an energy snack, they can be made in a matter of minutes with ingredients you probably already have on hand in your pantry. So, what exactly is raw honey, you wonder. Most beekeepers will tell you it simply means the honey is strained right before it is bottled. That translates to nature’s sweetness with all its beneficial nutrients and antioxidants. By eliminating the intense processing stage of heat filtration, what you get instead is honey that comes from the bee hive to your home. No extra sugar is added either. To make sure you are getting raw honey, always check the label.
RAW HONEY PEANUT BUTTER COOKIES
Ingredients:
1/3 cup raw honey
1/2 cup plus 2 tablespoons natural peanut butter, creamy
1 tablespoon vegetable oil
2 teaspoons vanilla extract
2 1/2 cups whole grain oats
Sprinkles, for garnish
Instructions:
Line a baking sheet with waxed paper. Pour sprinkles into a dish. Set aside. In a microwave-safe bowl, combine raw honey, creamy peanut butter, and vegetable oil. Microwave on High for 30 seconds. Stir. Repeat. Add vanilla extract. Mix well. Add whole grain oats. Stir to incorporate until cookie dough forms a large ball. Using a cookie scoop, press dough to make bite-size uniform cookies. Dip into sprinkles. Place on prepared baking sheet. Cookies will “set up” on their own. Transfer to a covered container for storage.

What’s Cooking in Gail’s Kitchen? Splurge-Worthy Goodness: Quesadilla Chile Relleno! Before you shake your head and walk away, hear me out. Green poblano peppers are a pretty mild distant cousin to the jalapeño and habanero. You could almost say they’re from the “other side of the tracks”, so to speak. Personally, I think they’re underrated. If you look up their classification, they might even be referred to as sweet. Now, I don’t know about that. What I do know is they smell somewhat earthy, tend to hold their shape, and are absolutely scrumptious when bathed in Mexican cheeses. In my opinion, they definitely deserve a second chance. What have you got to lose?
QUESADILLA CHILE RELLENO
Ingredients:
2 large flour tortillas
2 tablespoons butter
1 cup Mexican-style four cheeses, shredded
2 poblano peppers, roasted, peeled, and sliced in strips
1/4 cup yellow onion, chopped
1/4 cup ranch dressing, prepared
1/4 teaspoon cayenne pepper
1/4 teaspoon sriracha sauce
Instructions:
Butter one side of each flour tortilla. Set aside. Warm an iron skillet or nonstick pan over medium heat. Place one tortilla in the skillet, butter side down. Add half the Mexican cheeses. Arrange the poblano peppers in a single layer over cheese. Scatter chopped onion over all. Add remaining Mexican cheese blend. Place the remaining tortilla on top, butter side up. Press down lightly. Cover the pan with a lid. Cook 3-4 minutes until tortilla is lightly browned and cheese is melted. Using a spatula, flip over the quesadilla. Cover with lid. Cook 2-3 minutes longer until golden brown. Do not burn. Transfer quesadilla to a cutting board. Let rest for 2 minutes to avoid a flood of gooey cheese. In a small bowl, combine prepared ranch dressing, cayenne pepper, and sriracha sauce. Mix well. Cut the quesadilla into 6 triangles. Serve with sriracha ranch dipping sauce.
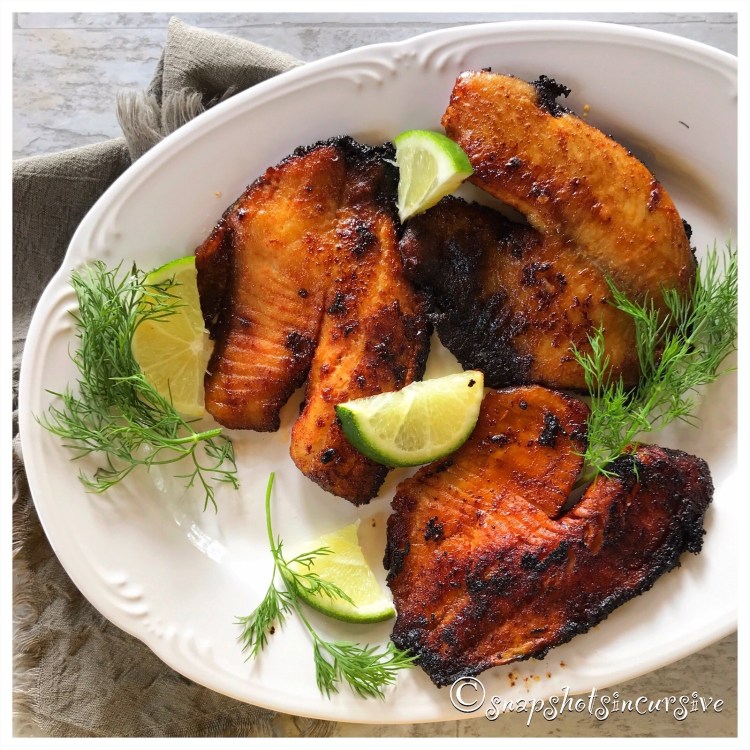
What’s Cooking in Gail’s Kitchen? Splurge-Worthy Goodness: Pan-Seared Tilapia! I don’t often “fry” foods, but once in awhile nothing else will do. The secret to pan-searing fish involves five key steps. First, make sure the skillet is nonstick or a trustworthy cast iron skillet. Secondly, choose a neutral-flavored oil which has a higher smoke point. You won’t need much, so it’s crucial to make sure the oil is not going to turn black from high heat. The third point, and this is just as important, make sure moisture is removed from the fish. If not, there is guaranteed to be steam-created soggy fish or dangerous grease splatters. Step Four: When the fish is placed in the pan, do not overcrowd it. The pieces should not touch each other at all. Finally, allow the fish to sear without moving it. This is how you get that beautiful crispy surface. Use a timer. Once the fillets are carefully flipped over, you’re almost done. By this time everyone in the house will be heading to the kitchen to discover what smells so incredibly good. Well Done, Grasshopper.
PAN-SEARED TILAPIA
Ingredients:
2 frozen tilapia fillets, thawed
1/2 tablespoon brown sugar
1/2 tablespoon chili powder
1/2 teaspoon kosher salt
1/4 teaspoon garlic powder
1/2 lime, juice and zest
2 tablespoons vegetable oil
1 pat butter, divided
Fresh dill, for garnish
Instructions:
Defrost fish fillets overnight in the refrigerator. Remove from package, pat dry with paper towels. Set aside. In a shallow dish, combine brown sugar, chili powder, kosher salt, garlic powder, and lime zest. Mix well. Warm vegetable oil in a cast iron skillet over medium-high heat. Rub both sides of each fillet with the spice mixture. Cook tilapia fillets for 4 minutes. Carefully flip them over. Squeeze lime juice over fish in pan. Divide a pat of butter over the top of each fillet. Cook 3 minutes longer, or until opaque and flaky. Transfer pan-seared tilapia fillets to a platter. Allow to rest for 5 minutes. Garnish with fresh dill. Serve immediately.
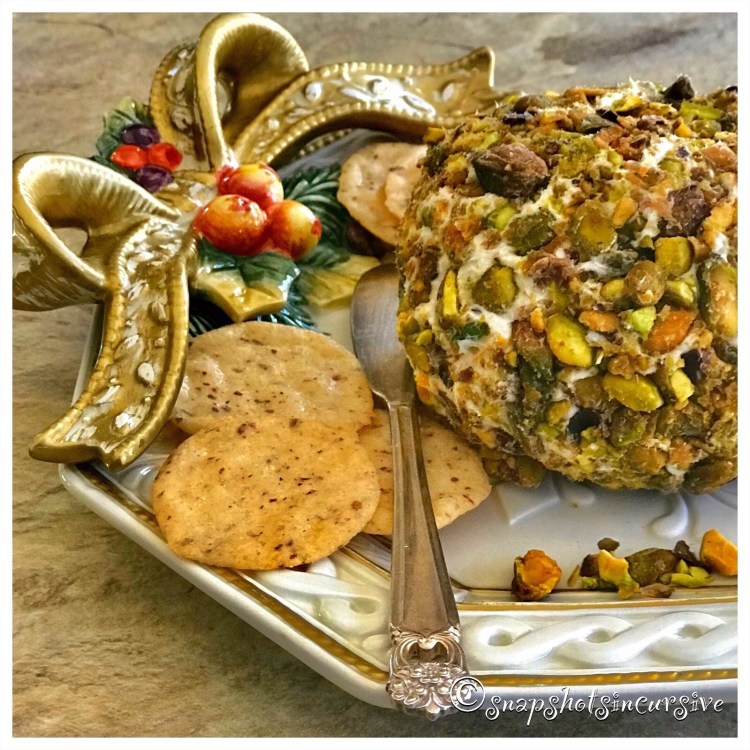
What’s Cooking in Gail’s Kitchen? Splurge-Worthy Goodness: Original Pistachio Party Ball! Nothing says par-tay like a holiday cheese ball. Instead of picking one up at the grocery store this year, why not surprise the family and make something a little different. Pistachios tend to be shoved aside in favor of walnuts and pecans, mostly due to their cost. But I guarantee you, people will sit up and take notice of them embedded in this party cheese ball. A little goes a long way, especially when rolled on the outside of the cheese ball. For those who enjoy the experience of cracking the shell to pluck out the pistachio, you not only get to nibble as you crack, you also justify the savings involved over the cost of pistachios without shells. Now there’s a thought worth considering.
ORIGINAL PISTACHIO PARTY BALL
Ingredients:
8 ounces Neufchâtel cheese, room temperature
4 tablespoons unsalted butter, softened
1 teaspoon zesty Italian salad dressing dry mix
1 teaspoon Worcestershire sauce
1/2 teaspoon red pepper flakes
1 cup extra sharp cheddar cheese, shredded
1 cup pistachios, roughly chopped
Instructions:
In a bowl, cream together Neufchâtel cheese and unsalted butter until smooth. Sprinkle in zesty Italian dry mix. Mix well. Add Worcestershire sauce and red pepper flakes. Fold in sharp cheddar cheese. Stir until well combined. Place a sheet of plastic wrap on the counter. Layer with chopped pistachio nuts. Transfer cheese mixture onto the nuts. Wearing disposable gloves, form the cheese mixture into a ball, turning to cover each side with chopped nuts. When completely covered, wrap the pistachio cheese ball in a clean piece of plastic wrap. Refrigerate at least one hour to intensify flavors. Serve with assorted crackers.
“Happiness is nothing more
than good health and
a bad memory.”
~ Albert Schweitzer
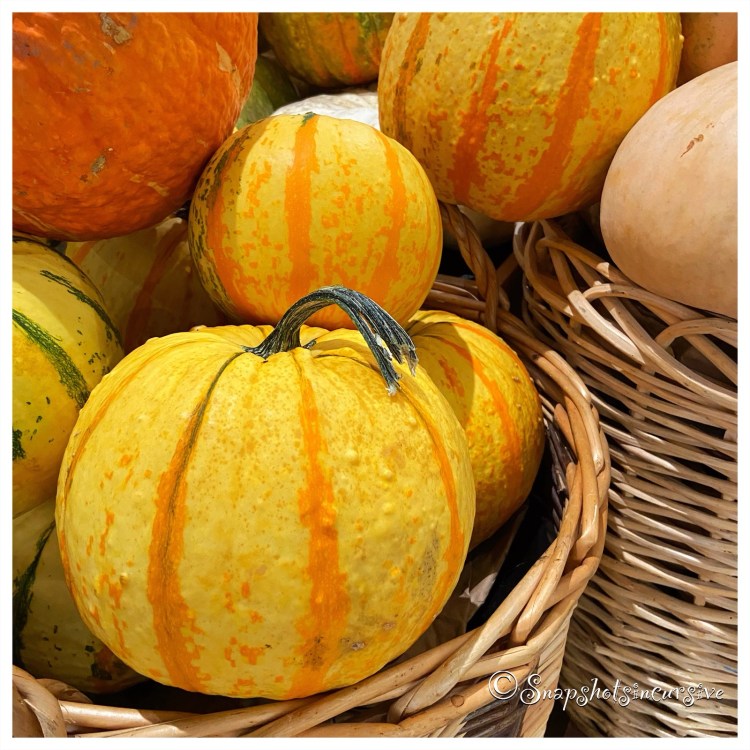
“I would rather sit on a pumpkin
and have it all to myself, than be
crowded on a velvet cushion.”
~ Henry David Thoreau
