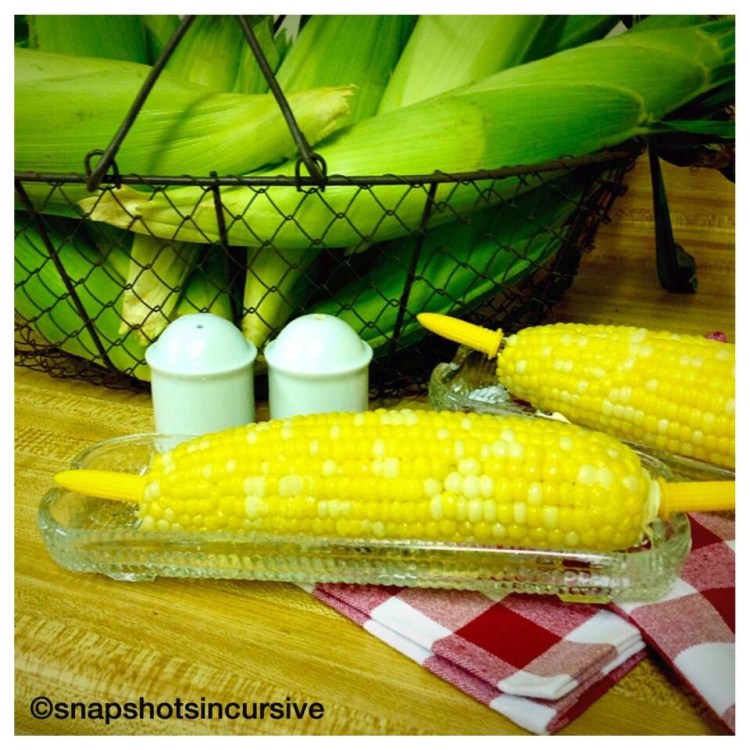
What’s Cooking in Gail’s Kitchen? Home Cooking: Indiana Sweet Corn! With July on the horizon, already the taste buds begin yearning for that extra juicy sweet corn freshly picked straight from the farmer’s field. After all, it’s best eaten the day it’s picked. There’s no taste quite like it. Get connected to the Farmers Market in your area for the best produce. Then do what I do, freeze extra for those cold, wintry days.
INDIANA SWEET CORN
Ingredients:
4 ears of Indiana sweet corn
Sea salt to taste
Butter for slathering
Instructions by Boiling:
Fill a stock pot with enough water to cover the corn. Bring it to a boil. Dissolve a tablespoon of salt in the water. Remove outer husk and silk from corn. Rinse corn. Carefully drop each ear into boiling water. Cover with lid and lower heat to medium. Cook 3-5 minutes. Remove with tongs and serve immediately with butter and sea salt.
Instructions for Microwaving:
I cook one ear at a time when I’m only preparing a few ears for a meal. Leave corn in husk. With a sharp knife, cut off the pointed end of the corn cob. Rinse under running water. While the ear of corn is wet, wrap a paper towel around it. The water will moisten the paper towel. Place the ear of corn in the microwave and cook on 100% power for 2-3 minutes. The husk will trap and steam the corn. Watch! Remove from microwave and let sit for a couple minutes. Use the paper towel to carefully shuck the corn. The silks come off easily.
Whichever method you choose, the reward is a taste of sugary-sweet Indiana heaven. Enjoy!