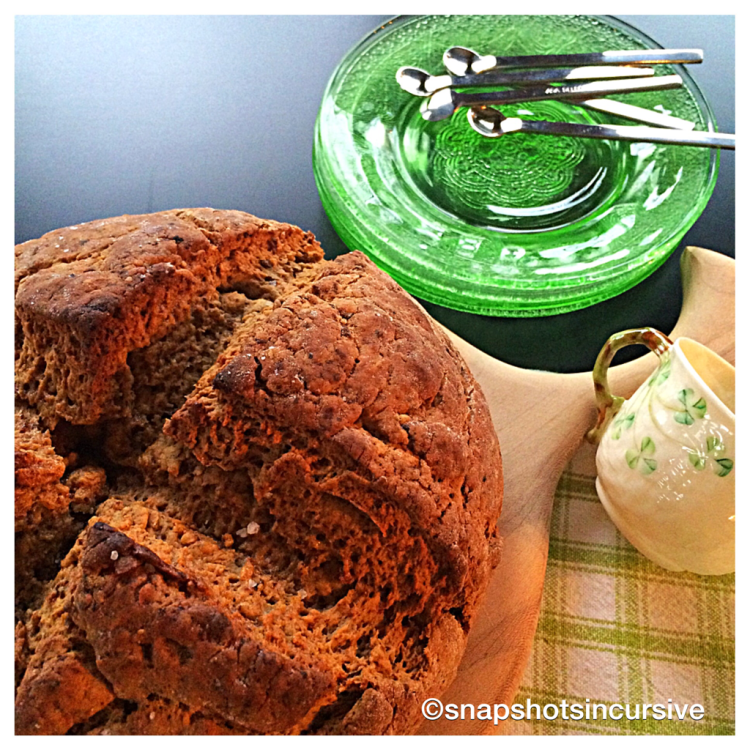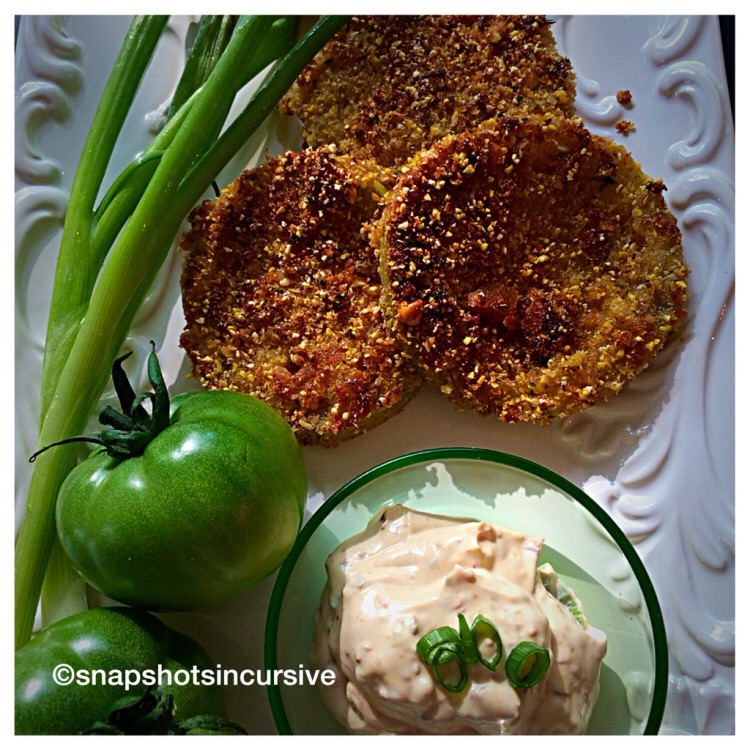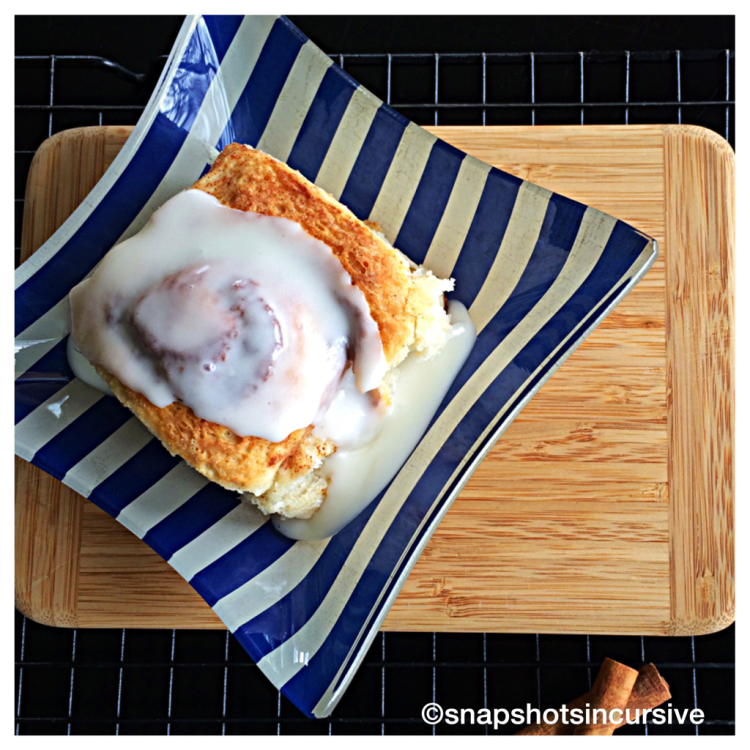
What’s Cooking in Gail’s Kitchen? Take a Seat at the Table: Yeast Cinnamon Rolls! Don’t you just love modern kitchen appliances? My husband already owned a countertop Bread Machine when we got married four years ago, so today I decided to try it out. (First I had to find it. When combining two households, things get shuffled around.) The recipe booklet boasted the best glazed cinnamon rolls and the photo bolstered my confidence enough to put it to the test. I’m glad I did. The house smelled like a family-owned bakery and the warm, gooey cinnamon buns were phenomenal. The challenge came at only eating one.
YEAST CINNAMON ROLLS
Ingredients for Dough:
1 cup water
2 tablespoons butter, softened
3 cups bread flour
1/4 cup sugar
1 teaspoon salt
2 1/2 teaspoons active dry yeast
Ingredients for Filling:
2 tablespoons butter, softened
1/2 cup sugar
2 teaspoons cinnamon
Ingredients for Glaze:
1 cup powdered sugar
1/2 teaspoon vanilla extract
2 tablespoons milk
Instructions:
Measure all dough ingredients carefully and place in the bread machine in the order they are listed: water, butter, flour, sugar, salt, and yeast. Select “Dough” cycle and “Start”. When the timer rings, remove the dough and flatten with a rolling pin into a 9-inch square on a lightly floured surface. Spread with 2 tablespoons of butter. Sprinkle the sugar and cinnamon filling over the buttered dough. Roll the dough up tightly; pinch the ends to seal. Cut the dough into 1-inch slices. Place in a 9″x9″ square pan. Cover with a wet tea towel and let rise in a warm place for 1 1/2 hours or until double. Preheat oven to 350°. Bake 25 minutes or until golden brown. Combine Glaze ingredients mixing powdered sugar, vanilla, and milk until smooth and thin enough to drizzle. Remove from pan to wire rack. Drizzle glaze over warm rolls. Serve warm.