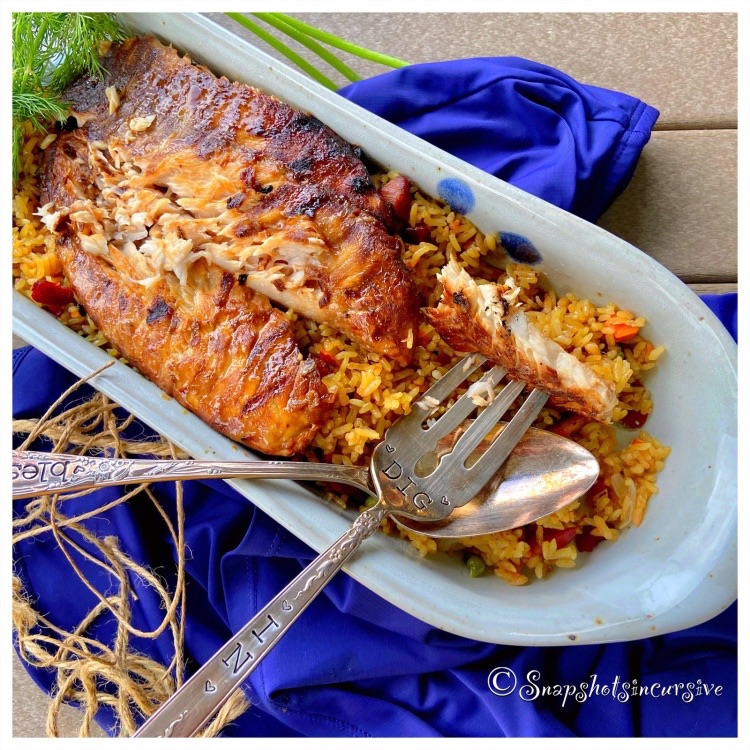
What’s Cooking in Gail’s Kitchen? Food With Soul: Tripletail Fish Fillet! No, this fish species does not actually have three tails, like its name implies. It does, however, have three rounded fins on the back end of its body that make it appear that way. Pretty cool, huh? It tends to swim in tropical waters, or float on top of the water giving it an appearance of a dry leaf drifting along on a wave. Perhaps the tripletail’s ancestors were the original hippies of the sea, back in the day. You know, hanging out with aquatic mermaids and other interesting water nymphs. But I digress. If you’re wondering how tripletail taste, it’s kinda like grouper or snapper: naturally firm, flaky, and sweet. You should try it.
TRIPLETAIL FISH FILLET
Ingredients:
12-ounce triple tail fish fillet
1/2 cup rice wine vinegar
3 tablespoons soy sauce
1 1/2 tablespoons sesame oil
1/8 teaspoon ground ginger
1/8 teaspoon garlic powder
Green Onions, chopped
Instructions:
Wash the fish fillet; pat dry. Place in a shallow dish. In a separate bowl, combine rice wine vinegar, soy sauce, sesame oil, ground ginger, garlic powder, and chopped green onion. Mix well. Pour the marinade over the fish; cover with plastic wrap. Refrigerate for 8 hours or overnight. Preheat the gas grill to 400°. Transfer triple tail fish directly to the grill grates. Close lid and cook for 4 minutes. Discard marinade. Turn fish and cook 4 minutes longer, with lid closed. Serve over a bed of Chinese fried rice.