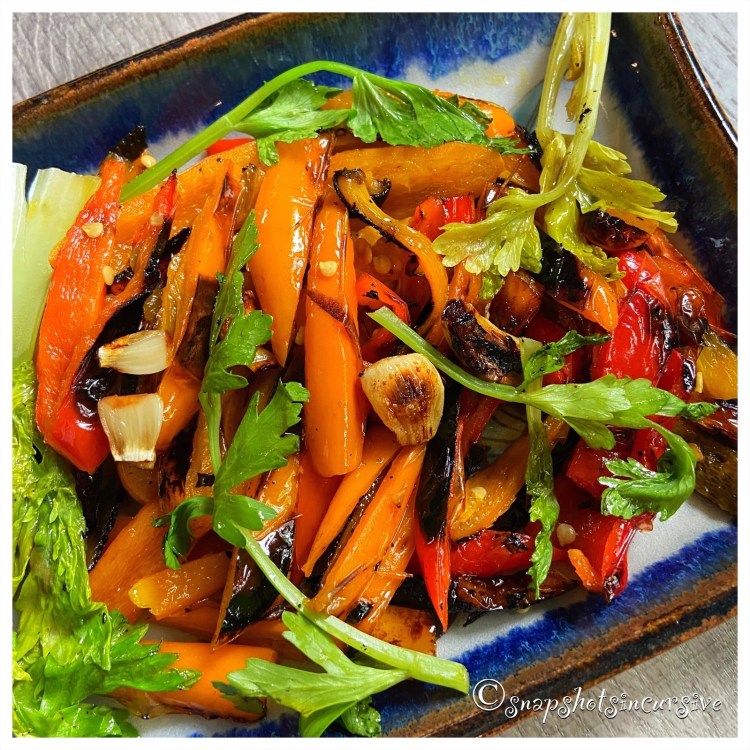
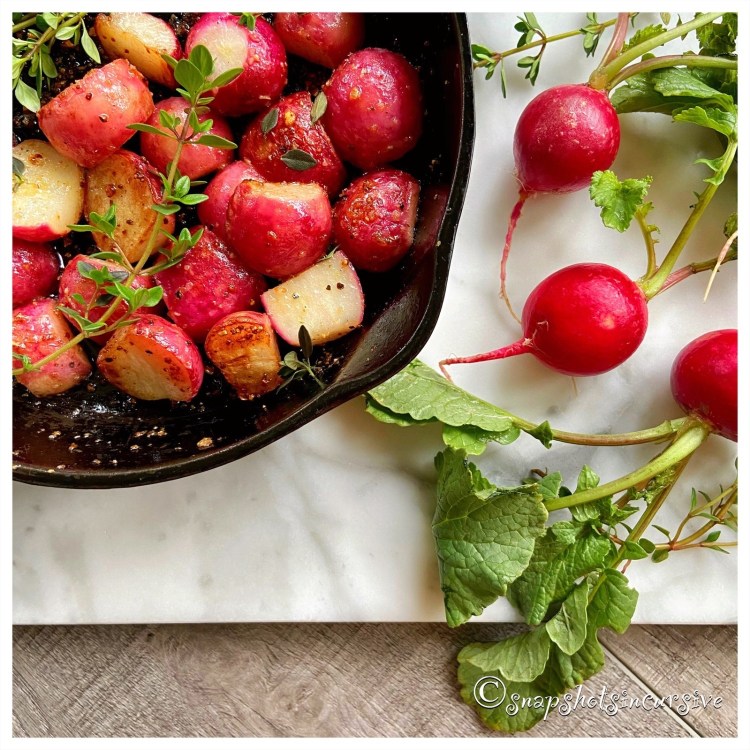
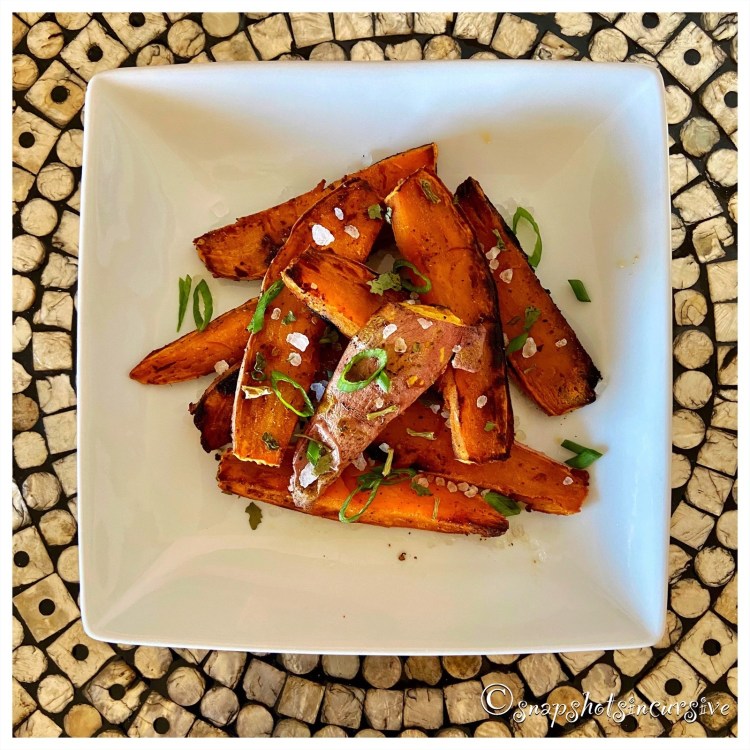
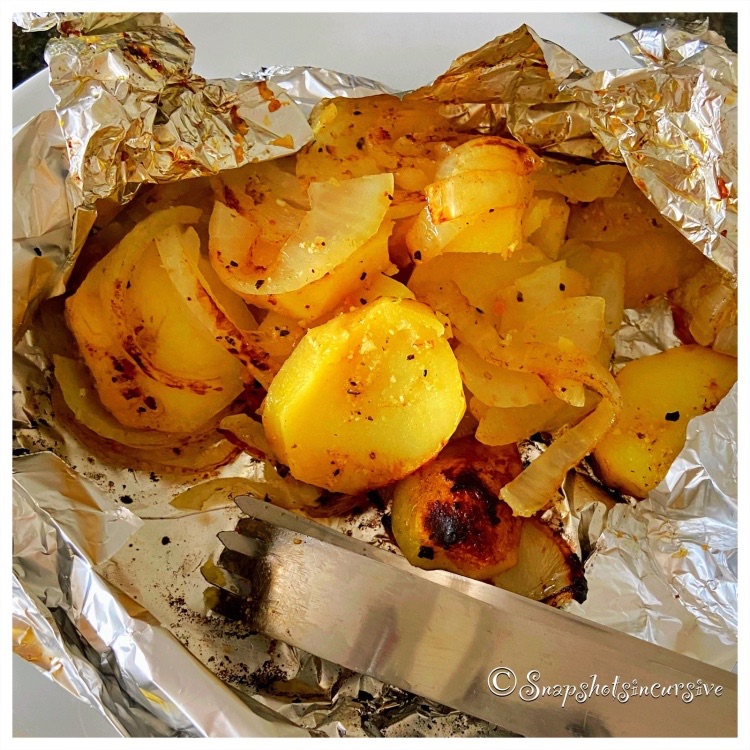
Yellow Squash Panko

What’s Cooking in Gail’s Kitchen? Palatable Possibilities: Yellow Squash Panko! Many of you already know this particular vegetable is a second cousin to zucchini. The skin is tender, glossy smooth, and edible which makes it a no-fuss dinner companion. Although its flavor is mild, when cooked it actually becomes buttery sweet with a slightly nutty nuance. Try to buy yellow squash that is 6”-8” in size. You’ll know because the larger it is, the more likely the skin will appear bumpy and less tender. You’ll also notice a lot of seeds, once you cut into it. By then you’ll need to rethink dinner and purée it for soup. Hindsight is 20/20 after all.

YELLOW SQUASH PANKO

Ingredients:

2 yellow squash

1-2 tablespoons olive oil, for sauté

Ingredients for Herbed Oil:

1 tablespoon lemon juice

1 tablespoon olive oil

1/8 teaspoon garlic powder

1 teaspoon dried parsley

1/4 teaspoon sea salt

1/8 teaspoon cracked black pepper

Ingredients for Crumb Topping:

1/4 cup panko bread crumbs

1/4 cup parmesan cheese, grated

1 teaspoon dried parsley

1/4 teaspoon sea salt

1/8 teaspoon red pepper flakes

Instructions:

Wash and pat dry yellow squash. Slice into 1/4” rounds; set aside. To make the herbed oil, whisk together lemon juice, olive oil, garlic powder, dried parsley, sea salt, and cracked black pepper. Set aside. To make the crumb topping, toss panko bread crumbs, grated parmesan cheese, dried parsley, sea salt, and red pepper flakes into a bowl. Mix well; set aside. To prepare yellow squash, warm olive oil in a large skillet over medium heat. Add the yellow squash and sauté for 8 minutes. Turn occasionally to cook both sides. Squash should be soft, but not mushy. Remove from heat. Drizzle herbed oil over yellow squash. Transfer to a platter. Top with panko crumb topping mixture. Garnish with fresh basil leaves, if desired. Serve immediately.

Zinc-Rich Fingerling Potatoes

What’s Cooking in Gail’s Kitchen? Time To Eat: Zinc-Rich Fingerling Potatoes! I think I mentioned how much I like “grazing” through my meals. The reality is, as I’ve aged and adjusted to health challenges, my appetite has wained quite a bit. It would help if I got hunger pangs, but that doesn’t seem to be happening either. Soooo, when a dish like these broiled salt and vinegar fingerling potatoes comes along, I have no guilt about adding a couple of side sauces for dipping and calling it a meal. I promise I’ll vouch for you, too.

ZINC-RICH FINGERLING POTATOES

Ingredients:

1 pound fingerling potatoes, sliced horizontally

2 cups white vinegar

1 tablespoon plus 1 teaspoon kosher salt

2 tablespoons olive oil

1/4 teaspoon black pepper

Tzatziki Dip, for serving

Blue Cheese Dressing, for serving

Instructions:

In a pot, combine fingerling potatoes, white vinegar, and one tablespoon kosher salt. If the liquid does not cover the potatoes by 1/4”, add a little water until it does. Bring to a boil, then lower the heat to Simmer. Cook until fork-tender, about 8 minutes. Allow the potatoes to cool in the liquid for 30 minutes. Drain well; pat potatoes dry with paper towels. Preheat the broiler on High setting. Arrange the potato halves in a single layer on a baking sheet sprayed with nonstick oil. Brush the potatoes with olive oil; then sprinkle with remaining kosher salt and black pepper. Broil until lightly browned, about 7 minutes. Then flip the potatoes over and brown the other side, about 5 minutes longer.

Wagyu Filet Mignon

What’s Cooking in Gail’s Kitchen? Time To Eat: Wagyu Filet Mignon! The secret to grilling medium-rare gourmet steaks is high heat, room temperature filets, and “resting” before serving. The buttery rich flavor and tenderness of Wagyu steak comes naturally with its marble-like fat content. As Wagyu grills, the smoky flavor is absorbed while the outer edges get crusty to hold all those fabulous juices. Avoid overcooking. It’s always easier to place them back on the grill for less rare results.

WAGYU FILET MIGNON

Ingredients:

4 Wagyu filet mignon steaks

1 teaspoon kosher salt

1/8 teaspoon black pepper

4 dabs of butter

Instructions:

Remove Wagyu filet mignon steaks from the refrigerator one hour before cooking. Preheat a lightly-oiled gas grill to 500°. Season the steaks on each side with kosher salt and black pepper. Place steaks on the grill; close lid. Cook for 5 minutes, then flip over and cook 5 minutes longer. An instant-read thermometer inserted in the center of the steak should register 125° for medium-rare. Remove steaks and transfer to a cutting board. Allow them to rest for 5 minutes. Top each Wagyu filet mignon with one dab of butter. Serve.

Mashed Potato Cakes

What’s Cooking in Gail’s Kitchen? Time To Eat: Mashed Potato Cakes! Remember when you were a kid and you went to the beach to build sandcastles? Sometimes they molded and other times they crumbled. Well, today is a day for you to try again and get it right. There is one exception, though. Instead of using sand, we are going to use mashed potatoes. The results are crispy on the outside and perfection on the inside. Let the fun begin.

MASHED POTATO CAKES

Ingredients:

3 medium potatoes, peeled, rinsed, and quartered

1 egg, beaten

1 tablespoon onion, finely chopped

1/2 teaspoon sea salt

1/8 teaspoon black pepper

1 tablespoon butter

1-2 tablespoons milk

Instructions:

Preheat oven to 400°. Line a baking sheet with parchment paper; set aside. Cook potatoes in plenty of salted water until thoroughly cooked; then drain. Meanwhile, sauté the onions until translucent; set aside. In a large bowl, combine cooked potatoes, beaten egg, sautéed onions, sea salt, black pepper, and butter. Adjust the texture with milk, as needed. On the baking sheet, using a ring mold, scoop mashed potato mixture to shape the cakes, about 1 1/2” thick. Press down slightly with the back of a spatula. Remove the ring mold and repeat the process for remaining mashed potatoes. Bake in the preheated oven for 10 minutes, or until golden brown. Transfer the potato cakes to a platter and top with a dollop or two of butter. Serve immediately.

Lobster Grilled in Butter

What’s Cooking in Gail’s Kitchen? Time To Eat: Lobster Grilled in Butter! We all like grilling and usually can’t wait for summer weather. Who can blame us?!? Food just seems to taste better when it’s grilled. It might be the high heat, or perhaps the exposure to fiery flames. The again, it could be the way foods absorb the smoky flavors and signature grill marks. A little charring only seems to get the mouth salivating for a scrumptious meal soon thereafter. My opinion? Dining al fresco is the culmination of a perfectly-prepared meal.

LOBSTER GRILLED IN BUTTER

Ingredients:

2 4-ounce lobster tails

1/4 teaspoon sea salt

1/8 teaspoon garlic powder

1 tablespoon olive oil

1/4 cup butter, melted

Lemon wedges, for garnish

Instructions:

Preheat gas grill to 400°. Clean the grate and lightly coat with olive oil. Using kitchen shears, carefully cut through the top shell lengthwise, stopping just before the tail fins. Gently pull the meat partially out, keeping it attached at the base. Brush each lobster tail with olive oil; season with sea salt and garlic powder. Place the lobster tails on the grill, meat side down. Close the cover. Grill the lobster for 5 minutes, or until slightly charred with grill marks. Using tongs, gently flip them over and grill for 3 minutes longer until the flesh turns opaque. The shells will turn a bright reddish-orange. Brush the lobster with melted butter, adding a squeeze of lemon juice. Serve immediately with extra melted butter for dipping. Garnish with lemon wedge.

Zia Marianna’s Grilled Peppers

What’s Cooking in Gail’s Kitchen? Cheerful Choices: Zia Marianna’s Grilled Peppers! Did you know there are three ways to roast peppers? You can use a grill pan over a burner flame, a broiler for fast charring, or roast them in the oven. The results are amazing, compared to raw peppers sliced into a salad. The incredible flavor is so smoky and sweet you may wonder why you don’t take the time more often. Pay attention to your taste buds! This is how we add depth to any dish, I promise you that.

ZIA MARIANNA’S GRILLED PEPPERS

Ingredients:

10 mini sweet peppers, mix of red and orange

5 cloves garlic

1/2 cup vegetable oil

1/2 teaspoon seasoned salt

1/2 teaspoon cracked black pepper

Celery leaves

Instructions:

Heat a grill pan on high heat until hot. Rinse the mini sweet peppers and garlic cloves; pat dry. Place the whole peppers and garlic cloves onto the grill pan, charring the skin completely on all sides until black on the outside and soft on the inside, 5-8 minutes per side. Remove and discard charred skin of peppers, seeds, and stems. Cut the peppers into thin slices about 1/4” thick. Transfer the charred pepper slices and garlic cloves into a container with a lid. Slightly wilt celery leaves on grill pan. Add to pepper mixture. Drizzle with vegetable oil. Add the seasoned salt and cracked black pepper. Mix well. Cover and refrigerate overnight. Warm slightly before serving.

Xtra Tender Grilled Radishes

What’s Cooking in Gail’s Kitchen? Cheerful Choices: Xtra Tender Grilled Radishes! If you’ve avoided radishes because of their bitter earthy taste when eaten raw, perhaps it’s time to give them another chance. Keep in mind radishes are simply a root vegetable, no different than a potato or turnip. Once they are cooked, a natural sweetness emerges. Surprise! The slightly crisp outer core reveals a nice soft middle that makes your mouth go “Mmmm.”

XTRA TENDER GRILLED RADISHES

Ingredients:

4 cups radishes, stems removed and halved lengthwise

1 tablespoon olive oil

1 teaspoon garlic and herb seasoning

2 tablespoons butter, melted

1 teaspoon fresh thyme, chopped

1/2 teaspoon sea salt

1/4 teaspoon black pepper

Instructions:

Warm an iron skillet or grill pan over medium-high heat. Toss the radishes in olive oil to coat. Sprinkle with garlic and herb seasoning. Reduce the heat to medium. Place the radishes, cut side down, on the iron skillet. Sear the radishes for 3-4 minutes per side. They will start to soften without losing their crunch. Remove pan from heat. Drizzle the radishes with melted butter. Sprinkle with chopped thyme leaves, sea salt, and black pepper. Serve immediately.

Sweet Potato Wedges

What’s Cooking in Gail’s Kitchen? Cheerful Choices: Sweet Potato Wedges! Mention the word sweet potato french fries and watch everyone’s eyes glaze over. Just the thought of a crispy outer skin surrounding a fluffy center sounds too good to be true, doesn’t it? Add homemade ketchup or sriracha mayo for dipping. Ahhh. Suddenly it’s a meal in itself……unless family members think you should share. Better make more.

SWEET POTATO WEDGES

Ingredients:

2 sweet potatoes, skin on and cut into wedges

1 1/2 tablespoons olive oil

1/2 teaspoon chili powder

1/2 teaspoon coarse sea salt

1/8 teaspoon black pepper

2 teaspoons agave nectar

Green onion, snipped, for garnish

Instructions:

In a microwave-safe bowl, combine sweet potato wedges and olive oil. Toss to coat. Cover. Microwave on HIGH for 6 minutes or until tender when pierced with a knife, tossing and replacing lid after 3 minutes. Allow to cool 10 minutes. Add chili powder, coarse sea salt, and black pepper. Toss to coat. Preheat grill pan over medium-high heat. Brush with olive oil. Place sweet potato wedges on oiled grill pan. Cook 3 minutes per side until charred and tender. Remove from heat. Drizzle with agave nectar. Garnish with green onion snips. Serve immediately.

Himalayan Salt Plate Shrimp Skewers

What’s Cooking in Gail’s Kitchen? Cheerful Choices: Himalayan Salt Plate Shrimp Skewers! How to cook with an Himalayan salt plate can be tricky. The key is patience. This can be done on an outdoor gas grill very easily. First make sure the salt block is completely dry. Always begin on a low heat setting. Allow the block to heat at that temperature for 15 minutes. Then switch the heat to medium and let the block warm for another 15 minutes. Finally, turn the heat to high for the last 15 minutes. Then sprinkle a few drops of water on the block. Once it sizzles and immediately evaporates, you may add the prepared food. Let’s do it!

HIMALAYAN SALT PLATE SHRIMP SKEWERS

Ingredients:

1 pound shrimp, peel and deveined, tails intact

1 pound smoked sausage, skinless, cut into 1” pieces

2 tablespoons bacon olive oil

2 teaspoons lemon juice

1 tablespoon dried Italian seasoning blend

Olive oil for brushing salt plate

Instructions:

Place one shrimp around a piece of smoked sausage. Thread combo onto a skewer and lay in a large baking dish. Repeat until all pieces are used. In a small bowl, whisk together bacon olive oil, lemon juice, and Italian seasoning blend. Brush onto shrimp skewers. Cover and refrigerate while Himalayan salt plate is warming up. Preheat the grill to medium-high heat. At this time slowly preheat the Himalayan salt plate over 45 minutes.* See above. The internal grill temperature should be no higher than 450°. When ready, lightly brush the preheated salt plate with regular olive oil. Working in batches, place the shrimp/sausage skewers on the salt plate and cook, turning once, until the shrimp are pink, 2 to 3 minutes per side. Pieces will appear slightly charred. Transfer skewers to a warmed platter to prevent food from becoming too salty. Brush the salt plate with more olive oil between batches. Repeat. Serve immediately.