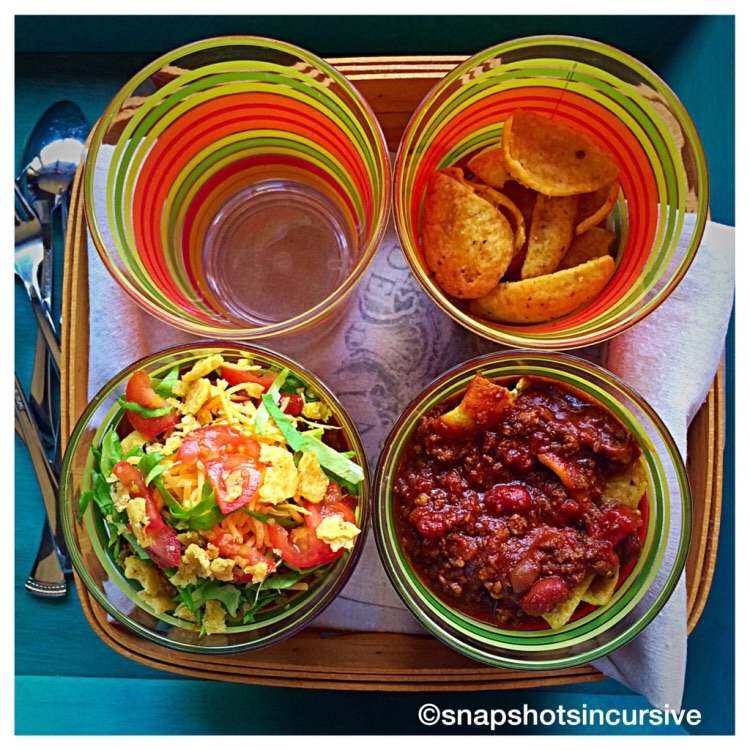
What’s Cooking in Gail’s Kitchen? Grocery List Ideas: Mexican Rice Soup. Just like anything else, this recipe can be modified to suit the tastes of your family and friends. For instance, if you want to add smoky black beans or soft corn kernels for a heartier meal, feel free to do so. In my mind’s eye, it’s a great way to add a more authentic flare to an old Mexican favorite. These delightfully earthy flavors become a full-belly favorite, that’s for sure. Soup’s On.
MEXICAN RICE SOUP
Ingredients for Soup Stock:
6 cups chicken broth
1 cup water
1 pound chicken tenders, boneless
3 chicken bouillon cubes
1 tablespoon olive oil
2 teaspoons granulated garlic
2 teaspoons ground cumin
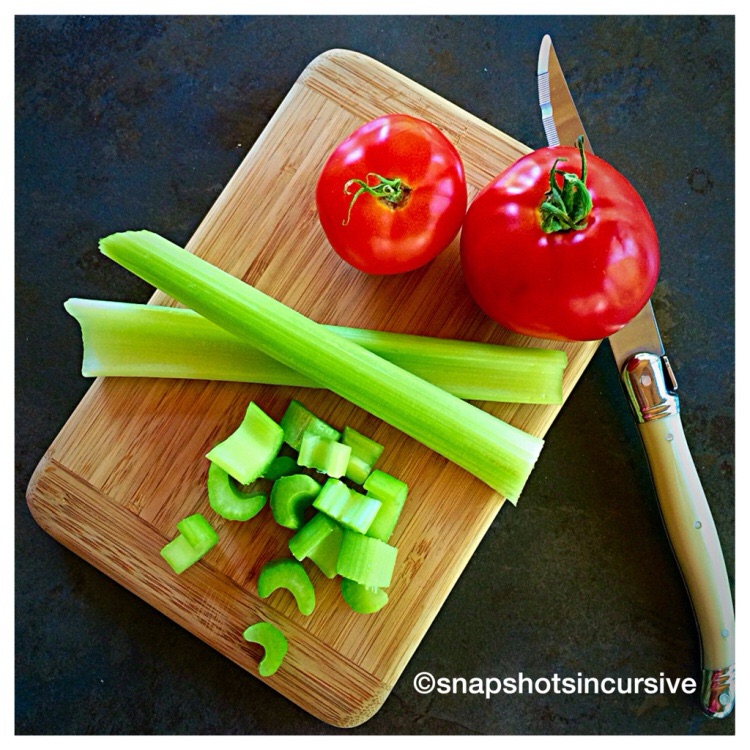
1/2 yellow onion, chopped
1/2 cup carrots, cubed
I small tomato, chopped
Ingredients for Rice:
2 cups chicken broth
1 cup white rice
1 teaspoon chili powder
Instructions:
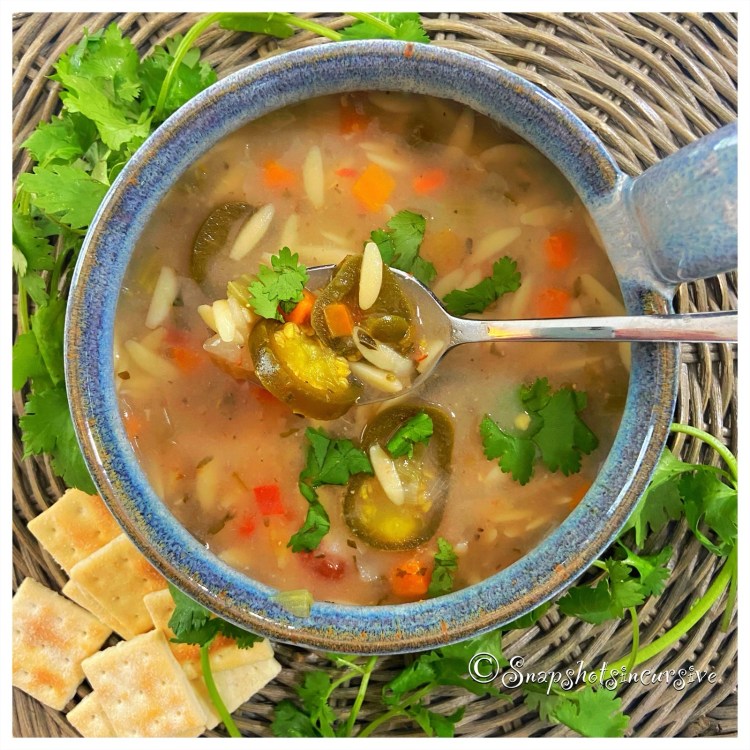
In a Dutch oven, combine chicken broth, water, chicken tenders, bouillon cubes, olive oil, granulated garlic, and ground cumin. Bring to a boil. Reduce heat, cover pot, and simmer until the chicken is cooked through, approximately 25 minutes. Gently shred chicken tenders with two forks. Add chopped onions, carrots, and tomatoes to the broth. Simmer five minutes longer. To make the rice, bring chicken broth, white rice, and chili powder to a boil in a saucepan. Reduce heat to medium-low, cover, and simmer until the rice is tender and the liquid has been absorbed. It should take about 25 minutes. When finished, add rice to the chicken soup. Stir until combined. Keep warm. To serve, ladle Mexican Rice Soup into soup bowls. Garnish with pickled jalapeño peppers and fresh cilantro.