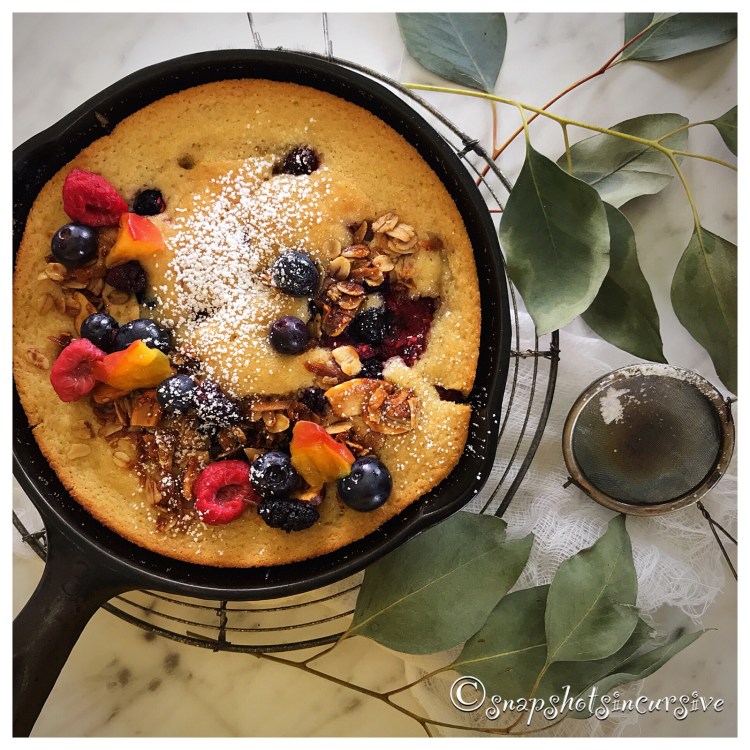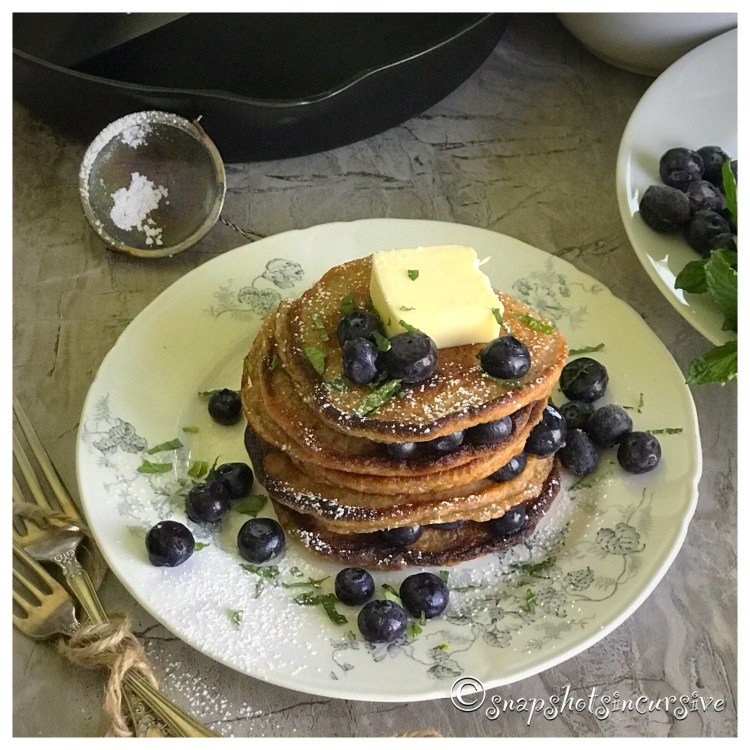
What’s Cooking in Gail’s Kitchen? The Clean Plate Club: Quinoa Buckwheat Pancakes! Before you roll your eyes and walk away, let me assure you these pancakes are amazing. My husband had no idea the secret ingredient was quinoa. Honestly. Since I cooked the quinoa the day before, it blended nicely with the buckwheat batter resulting in moist and light pancakes. Better yet, there was no heavy feeling afterwards. You should try it.
QUINOA BUCKWHEAT PANCAKES
Ingredients:
1 cup cooked quinoa
3/4 cup buckwheat pancake mix
1 egg plus 1 egg-white
1 tablespoon butter, melted
1/4 cup milk
1 teaspoon vanilla extract
2 tablespoons pure maple syrup
Fresh blueberries
Mint for garnish
Instructions:
In a medium bowl, whisk together quinoa and buckwheat pancake mix. In another bowl, whisk together egg, egg-white, melted butter, milk, vanilla extract, and maple syrup. Blend until smooth. Add egg mixture to flour mixture. Mix well. Coat a hot griddle with butter, vegetable oil, or nonstick spray. Drop batter by heaping tablespoons. Cook 2 minutes until bubbles appear. Flip buckwheat cakes to cook underside for 2 minutes longer. Repeat with remaining batter. Reduce heat to medium to avoid burning, if necessary. Serve a stack of quinoa buckwheat pancakes with fresh blueberries, unsalted butter, and pure maple syrup. Sprinkle with powdered sugar, if desired. Garnish with chopped mint.