What’s Cooking in Gail’s Kitchen? Stir. Spread. Flip. Repeat: Umami Seasoned Popcorn! I like gadgets, especially in the kitchen. As a lifelong popcorn lover, I’ve made popcorn in a skillet on the stove, for a time using a brown paper bag in the microwave, also the prepackaged varieties for the microwave, a stand-alone air popper, and now with my newest toy. I discovered a delightful surprise called Ecolution Micro-Pop Glass Microwave Popcorn Popper*. It actually resembles a coffee carafe. No kidding. The three-in-one lid not only measures the popcorn kernels, but it also holds a half stick of butter. As the kernels pop, the butter melts and drizzles over the freshly popped corn. I can see you’re impressed. You can thank me later.
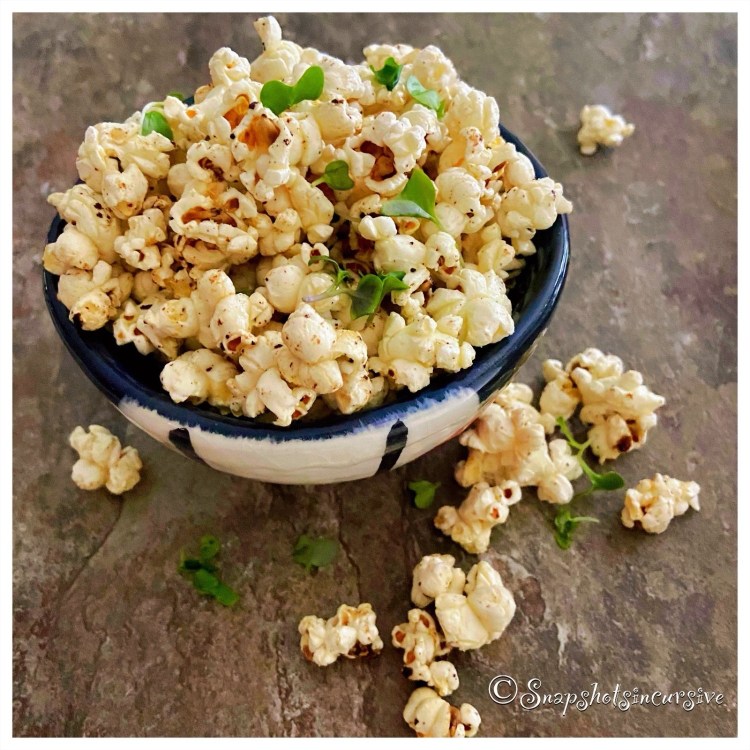
UMAMI SEASONED POPCORN
Ingredients:
1/3 cup yellow popcorn kernels
3 tablespoons butter, unsalted
1 tablespoon umami seasoning
1 tablespoon micro greens
Instructions:
Pour popcorn kernels into the microwave-safe popcorn popper. Place in microwave for 3 minutes on High setting, or until kernels stop popping. Do not allow to scorch or burn. Meanwhile, melt butter in a small saucepan over low-medium heat. Stir in umami seasoning until well blended. Transfer popped popcorn to a bowl; pour butter mixture over popcorn. Toss gently to coat. Sprinkle with micro greens and serve immediately.
*I receive no recompense for mentioning this product.