Diablo Verde Enchiladas

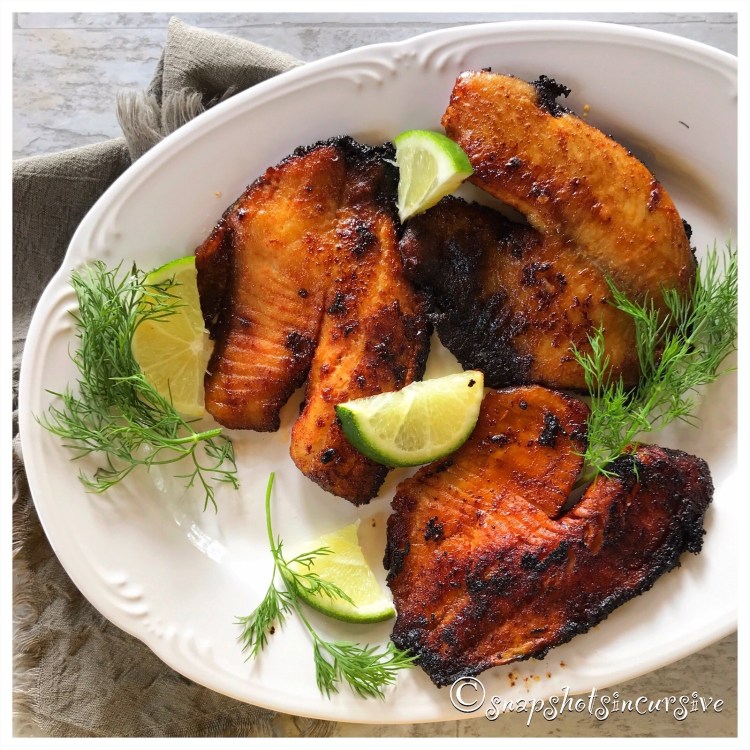
What’s Cooking in Gail’s Kitchen? Country Casual Cravings: Diablo Verde Enchiladas! If you understand a little Spanish, you’re already familiar with the term “diablo”. Typically it refers to devil. In reference to food, it translates to spicy or sometimes fiery ingredients that crank things up a level. In this case I used jalapeño peppers, but you are certainly welcome to increase the heat by substituting serrano peppers instead. Since I want to keep my husband around a little longer, I played it safe. You choose.

DIABLO VERDE ENCHILADAS

Ingredients:

2 cups precooked turkey, shredded

1/2 teaspoon chili-lime seasoning

1/2 teaspoon dried oregano

1/8 teaspoon garlic powder

12 ounces queso blanco dip

10 flour tortillas

3 tablespoons butter

3 tablespoons flour

2 cups chicken broth

1 cup Greek yogurt

2 tablespoons pickled jalapeños, diced

1/4 cup taco sauce

1 cup mozzarella cheese, shredded

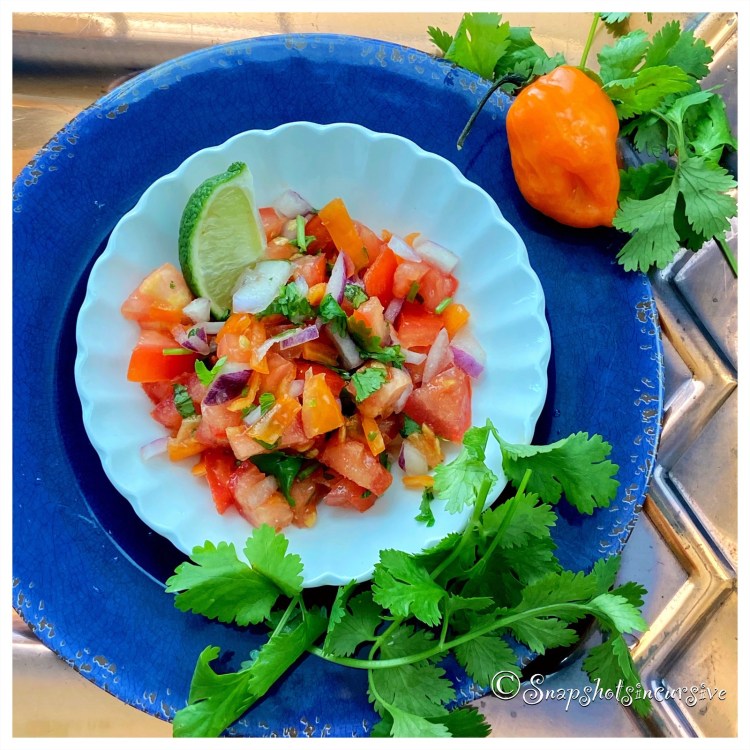
Salsa verde, to taste

Fresh cilantro, for garnish

Green onion snips, for garnish

Instructions:

Preheat the oven to 350°. Spray a 9”x13” pan with nonstick oil. Set aside. In a mixing bowl, combine shredded turkey, chili-lime seasoning, dried oregano, garlic powder, and queso blanco dip. Mix well. Divide the mixture between the 10 flour tortillas, spreading the meat across the center of each tortilla. Roll them up, placing each seam-side-down in the prepared baking dish. In a saucepan over medium heat, warm butter. Do not scorch. Whisk in flour; cook one minute to thicken, stirring constantly. Add chicken broth; whisk until smooth. Add Greek yogurt and diced jalapeños. Do not allow mixture to boil. Reduce heat if necessary. Remove sauce from heat. Carefully pour over enchiladas. Spoon taco sauce over all. Top with shredded mozzarella cheese. Bake 20-25 minutes. Remove from oven when cheese is slightly browned and bubbly. Garnish with salsa verde, fresh cilantro, and green onion snips to taste. Serve immediately.

Pan-Seared Tilapia

What’s Cooking in Gail’s Kitchen? Splurge-Worthy Goodness: Pan-Seared Tilapia! I don’t often “fry” foods, but once in awhile nothing else will do. The secret to pan-searing fish involves five key steps. First, make sure the skillet is nonstick or a trustworthy cast iron skillet. Secondly, choose a neutral-flavored oil which has a higher smoke point. You won’t need much, so it’s crucial to make sure the oil is not going to turn black from high heat. The third point, and this is just as important, make sure moisture is removed from the fish. If not, there is guaranteed to be steam-created soggy fish or dangerous grease splatters. Step Four: When the fish is placed in the pan, do not overcrowd it. The pieces should not touch each other at all. Finally, allow the fish to sear without moving it. This is how you get that beautiful crispy surface. Use a timer. Once the fillets are carefully flipped over, you’re almost done. By this time everyone in the house will be heading to the kitchen to discover what smells so incredibly good. Well Done, Grasshopper.

PAN-SEARED TILAPIA

Ingredients:

2 frozen tilapia fillets, thawed

1/2 tablespoon brown sugar

1/2 tablespoon chili powder

1/2 teaspoon kosher salt

1/4 teaspoon garlic powder

1/2 lime, juice and zest

2 tablespoons vegetable oil

1 pat butter, divided

Fresh dill, for garnish

Instructions:

Defrost fish fillets overnight in the refrigerator. Remove from package, pat dry with paper towels. Set aside. In a shallow dish, combine brown sugar, chili powder, kosher salt, garlic powder, and lime zest. Mix well. Warm vegetable oil in a cast iron skillet over medium-high heat. Rub both sides of each fillet with the spice mixture. Cook tilapia fillets for 4 minutes. Carefully flip them over. Squeeze lime juice over fish in pan. Divide a pat of butter over the top of each fillet. Cook 3 minutes longer, or until opaque and flaky. Transfer pan-seared tilapia fillets to a platter. Allow to rest for 5 minutes. Garnish with fresh dill. Serve immediately.

No-Bake Lime Coconut Truffles

What’s Cooking in Gail’s Kitchen? Splurge-Worthy Goodness: No-Bake Lime Coconut Truffles! Here’s a festive treat that satisfies the desire for something sweet enough without the overkill. This time white chocolate becomes the confectionery of choice. Instead of nuts, candied ginger and lime zest become key ingredients to complement the tropical tones of coconut. One might suggest these truffles resemble tiny snowballs, if not for the lime zest. To serve, simply place each truffle in a fluted foil or paper candy cup and arrange on a decorative platter. It promises to bring “Oohs” and “Ahhs” as a crowd-pleaser.

NO-BAKE LIME COCONUT TRUFFLES

Ingredients:

1 cup white chocolate chips

2 cups sweetened coconut, shredded

1/2 cup crystallized ginger, chopped

1 1/2 teaspoon lime zest, grated

1 1/2 teaspoon lime juice

Lime zest, for garnish

Instructions:

Melt white chocolate chips in a microwave-safe bowl on 50% for 30 seconds. Stir and repeat until completely smooth. Mix in sweetened shredded coconut. Fold in crystallized ginger and lime zest. Add lime juice to the mixture. Form into 16 small mounds. Garnish with more lime zest. Chill until set.

Zapata Tequila Shots

What’s Cooking in Gail’s Kitchen? Uplifting Aromas: Zapata Tequila Shots! You’re either going to love me or hate me for this recipe, so first hear me out. I’m a tequila-girl; not a crazy one, but one who has a zest for life. I like chili peppers, too. As you read through the recipe, let me offer alternative ways to “tone down” the cocktail. Because the non-alcoholic margarita mix is frozen into cubes, they can be dropped into a blender and made into a tasty frozen margarita. Simply adjust the amount of spicy tequila (or not) to suit your taste. A slushy is also very tasty, using the non-alcoholic margarita mix ice cubes and adding sparkling water. Now you see, everyone can be happy with this tasty margarita.

ZAPATA TEQUILA SHOTS

Ingredients:

Chili-lime seasoning blend

1 cube of frozen margarita mix*

1 1/2 ounces pepper-infused tequila**

Jalapeño slice, for garnish

Lime wedge, for garnish

Instructions:

Sprinkle the chili-lime seasoning onto a saucer. Circle the rim of a stemmed cocktail shot glass with a fresh cut lime. Dip the glass onto the saucer of chili-lime seasoning to create a flavorful rim. Add one cube of frozen margarita mix. Pour the pepper-infused tequila over the ice cube. Add a jalapeño slice and lime wedge for garnish. Serve.

Advanced Instructions for Frozen Margarita Mix Ice Cubes:

*Using small 15-count square silicone ice cube trays, fill each tray with your favorite margarita mix. Freeze overnight. Remove cocktail ice cubes and store in zipper freezer bags. Repeat until all the margarita mix is frozen into ice cubes.

Advanced Instructions for Pepper-Infused Tequila:

**To make your own version of pepper-infused tequila, begin with 750 mL of blue agave tequila gold. Using gloves, slice 2-3 chili peppers. Remove stems and partial seeds to control heat; discard. Add the sliced chili peppers to bottle of tequila. Reseal; shake bottle. Store in a cool, dry area for one week. Then pour the tequila through a fine mesh sieve into a large measuring cup. Transfer the pepper-infused tequila back into the bottle. Seal and store in the refrigerator.

Queso Chicken Flautas

What’s Cooking in Gail’s Kitchen? Elevated Edibles: Queso Chicken Flautas! Are you as torn between corn tortillas and flour tortillas as I am? There are days, and certain dishes, where nothing but corn will do: tamales, taquitos, enchiladas, tacos, and chips. Corn tortillas, generally, are much smaller and easier to hold. When they are soaked in sauce, they are more pliable and suitable for baking. If you like the taste of toasted corn as well as the chewy texture, corn tortillas are for you. The same applies to flour tortillas: quesadillas, flautas, fajitas, chimichangas, and burritos. Flour tortillas are bigger, not to mention softer for folding. You already know this if you’ve ever eaten a monster burrito or ginormous chimichanga. One is baked, the latter is fried. Today’s recipe features the sturdiness of a flour tortilla to hold the juicy chicken and melted cheese filling without turning soggy or falling apart. What a delicious dilemma.

QUESO CHICKEN FLAUTAS

Ingredients for Herbed Sour Cream:

8 ounces sour cream

1 tablespoon honey

1 tablespoon lime juice

1/4 teaspoon sea salt

1/4 cup cilantro leaves, chopped

2 tablespoons green onions, chopped

Ingredients:

1 cup cooked chicken, shredded

1 cup Mexican cheese blend, shredded

4 ounces cream cheese, softened

4.5 ounce can green chiles, drained and diced

1 envelope taco seasoning mix, less 1 tablespoon for remaining recipe

12-count flour tortillas

2 tablespoons vegetable oil

15-ounce jar queso cheese dip, warmed

Instructions:

To make the herbed sour cream, combine sour cream, honey, lime juice, and sea salt in a bowl. Stir until smooth. Gently fold in chopped cilantro leaves and green onions. Cover and refrigerate until ready to serve. In a medium bowl, combine shredded chicken, Mexican cheese blend, cream cheese, and diced green chilies. Sprinkle with taco seasoning mix (less 1 tablespoon of mix). Stir thoroughly. Set aside. In a small dish, whisk vegetable oil with reserved taco seasoning mix. Set aside. Preheat oven to 425°. Spray a baking sheet with nonstick oil. To assemble flautas, place 1/4 cup chicken mixture on bottom third of each flour tortilla. Roll up tightly, leaving ends open. Place seam-side down on prepared baking sheet. Brush filled chicken flautas with seasoned oil mixture. Repeat until all tortillas are filled. Bake 10-12 minutes, or until flautas are crispy. Serve with warmed queso cheese dip, herbed sour cream, and chunky salsa.

Turkey Taquitos

What’s Cooking in Gail’s Kitchen? Table Food: Turkey Taquitos! Small rolled-up tortillas that are filled with seasoned meat, shredded cheese, and Mexican spices might be the best alternative to a taco or a burrito. In lieu of deep frying, crispy crunchy results can happen in the oven. The smaller size tortilla makes the turkey taquito easy to hold and handy for dipping into red or green salsa. Some foodies make a meal out of these little corn tacos, while others find them perfect as a party snack. Better make a batch for yourself before you decide.

TURKEY TAQUITOS

Ingredients:

1/2 cup salsa

3 cups turkey, precooked and shredded

1 1/2 cups cheddar cheese, shredded

1 tablespoon taco seasoning mix

1/2 teaspoon oregano, crushed

1/4 teaspoon cumin powder

1/8 teaspoon garlic powder

12 corn tortillas

1/3 cup vegetable oil

Tomatoes, jalapeños, cilantro, and ranch dressing, for garnish

Instructions:

Preheat oven to 425°. Pour salsa into a strainer. Allow juices to drip away. In a large bowl, combine shredded turkey, cheddar cheese, taco seasoning mix, crushed oregano, cumin powder, and garlic powder. Mix well. Warm vegetable oil in an iron skillet over medium heat. Dip each tortilla into the oil and place on a plate. This makes the shell pliable. Reduce heat to low. Place 2 tablespoons filling on each tortilla. Roll tightly. Place in the iron skillet to “seal” for a few seconds. Then transfer taquito to a baking sheet, with seam facing down. Repeat with remaining tortillas. Bake for 18-20 minutes or until crisp. Garnish with chopped tomatoes, sliced jalapeños, and fresh cilantro. Drizzle with ranch dressing. Serve warm.

Honey Butter Shrimp

What’s Cooking in Gail’s Kitchen? Table Food: Honey Butter Shrimp! Here’s a different kind of main dish that creates a balance of sweet, salty, and a little bit of spice in every bite. Shrimp lovers will not be disappointed with the tender, incredibly mild, slightly creamy taste of ocean shrimp. It’s very good, according to my husband the taste tester. The firmness of each delicate morsel, curled into the C-shape when cooked, makes each bite a succulent delight for the palate. The aromatic ginger, when mixed with soy sauce and sticky sweet honey, will awaken the taste buds for a juicier finish. Done right, this shrimp becomes a labor of love that will surely bring raves.

HONEY BUTTER SHRIMP

Ingredients:

1 1/2 pounds jumbo shrimp, peeled and deveined

1/4 teaspoon seasoned salt

1/8 teaspoon white pepper

2 tablespoons olive oil

3 cloves garlic, minced

1/2 teaspoon ginger

1/8 teaspoon cayenne pepper

2 tablespoons butter

3 ounces coconut milk

1 tablespoon soy sauce

2 tablespoons raw honey

Zest and juice from one lime

2 tablespoons cilantro, chopped

Instructions:

Pat the shrimp dry with a paper towel. Sprinkle with seasoned salt and white pepper. Warm olive oil in an iron skillet over medium heat. Add shrimp and cook until pink, about 2 minutes per side. Add minced garlic, ginger, cayenne pepper, and butter. Cook the shrimp in the butter until the garlic caramelizes, about 2 minutes. Add coconut milk, soy sauce, and raw honey. Stir to combine. Simmer 2-3 minutes until completely warmed. Remove from heat. Stir in lime juice, zest, and cilantro. Serve warm over rice.

Xnipec Habanero Salsa

What’s Cooking in Gail’s Kitchen? Graze or Gobble: Xnipec Habanero Salsa! Anyone who craves the jolt of hot tropical salsa can read on. Others who don’t….No judgement, we’ll catch you tomorrow. For those who are up to the challenge, let me give you a little background before you dive in. The word “Xnipec” translates in Mayan to “dog’s nose”, which implies you may sweat droplets like a dog’s wet nose the more bites you take. If so, wipe your forehead and walk away. You’re done. I’ve been known to ask for the “muy caliente” salsa in a Mexican restaurant. At which time, the server brings me my own special bowl usually reserved for the kitchen staff. The hubs typically laughs and tells them I can practically drink it with a straw. What can I say? I’m hopelessly addicted to habaneros.

XNIPEC HABANERO SALSA

Ingredients:

3 habanero peppers

2 Roma tomatoes, chopped

1/2 red onion, finely diced

3 tablespoons cilantro, chopped

2 tablespoons lime juice

2 tablespoons orange juice

Pinch of sea salt

Instructions:

Using disposable gloves, halve habaneros. Remove stem, pith, and seeds. Dice peppers; place in a bowl. Add chopped tomatoes, finely diced red onion, chopped cilantro, lime juice, and orange juice. Add a pinch of sea salt. Toss well. Refrigerate one hour before serving.

Navel Orange Avocado Plate

What’s Cooking in Gail’s Kitchen? Graze or Gobble: Navel Orange Avocado Plate! Keeping things simple seems to be working for me these days. By focusing on a few ingredients, the star attractions quickly become tart and juicy oranges complemented by creamy avocados with a slight crunch of seasoning. Who could ask for more? In order to intensify the ripeness of an avocado, I typically transfer a couple to a brown bag, seal it, and store the bag at room temperature in my pantry for two days. The skin will feel slightly soft to the touch, yet not mushy. From there, I refrigerate the avocados in the crisper drawer no longer than a day. Perhaps you have a system that works as well. Feel free to share.

NAVEL ORANGE AVOCADO PLATE

Ingredients:

4 navel oranges

2 avocados

1 tablespoon lime juice

1/2 teaspoon Everything But Bagel seasoning

Fresh cilantro, for garnish

Instructions:

Rinse the oranges and avocados. Using a sharp knife, slice the navel oranges into thin even slices, leaving peels on. Arrange them on a platter. Cut the avocados crosswise into quarters; remove the pits. Gently peel the skin off. Slice the avocado into wedges. Drizzle with lime juice. Arrange the avocado wedges around the orange slices. Sprinkle avocados with Everything But Bagel seasoning. Garnish platter with fresh cilantro. Serve.