What’s Cooking in Gail’s Kitchen? Fab Foodstuff: Jicama Avocado Salad! Allow me to introduce you to the legume family. Jicama is a cousin to beans, peas, and lentils. It provides protein, which is important to everyone, whether you’re a vegetarian or not. Choosing foods that are beneficial to a healthy diet can keep a weekly menu from turning hum-drum and boring. Jicama can be prepared in any number of ways. Eating it raw is just one of them. Its taste slightly resembles a crispy red apple. Only recently I slathered peanut butter all over a slice as a variation from a celery stick. Jicama is also low-carb, if that’s important to you. Not a raw-veggie-kind-of-person? Slice ‘em up and make a batch of french fries. It works.
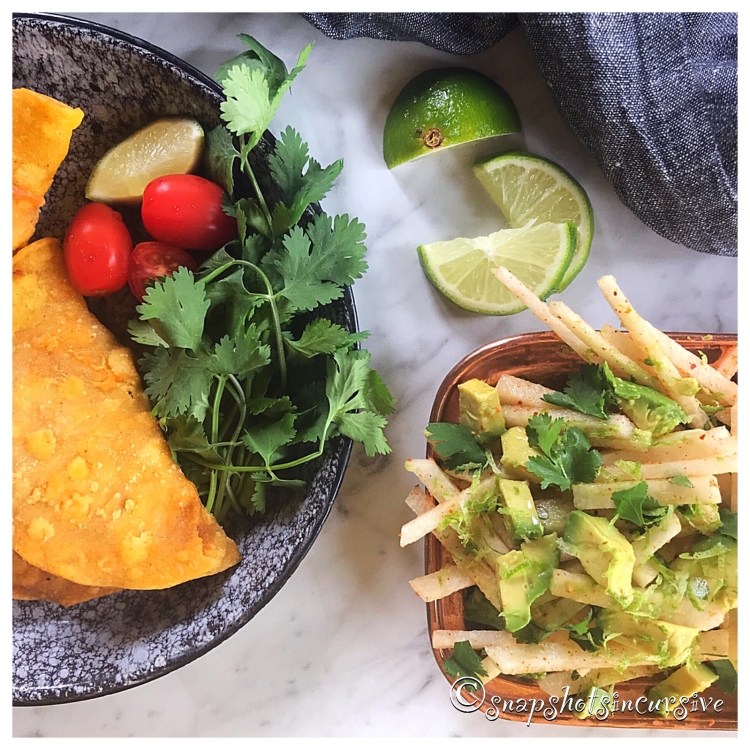
JICAMA AVOCADO SALAD
Ingredients:
I large jicama
1 avocado, pitted and chopped
Zest of 2 limes
1 teaspoon Tajin seasoning
1/4 teaspoon smoky paprika
1/8 teaspoon garlic powder
Juice of 2 limes
Fresh cilantro
Instructions:
Using a chef’s knife, slowly peel the thick skin of the jicama. Cut a thin slice at the top and bottom so the vegetable can keep from rolling. Working from top to bottom, slide the knife under the skin to remove the tough, fibrous outer covering. Rinse jicama and slice into matchsticks. Transfer to a bowl. Halve the avocado and remove pit. Scoop the flesh away from the skin. Chop avocado into bite-sized pieces. Add to the jicama sticks. Sprinkle with lime zest, Tajin seasoning, smoky paprika, and garlic powder. Squeeze lime juice over all. Add chopped cilantro leaves. Gently toss and serve.