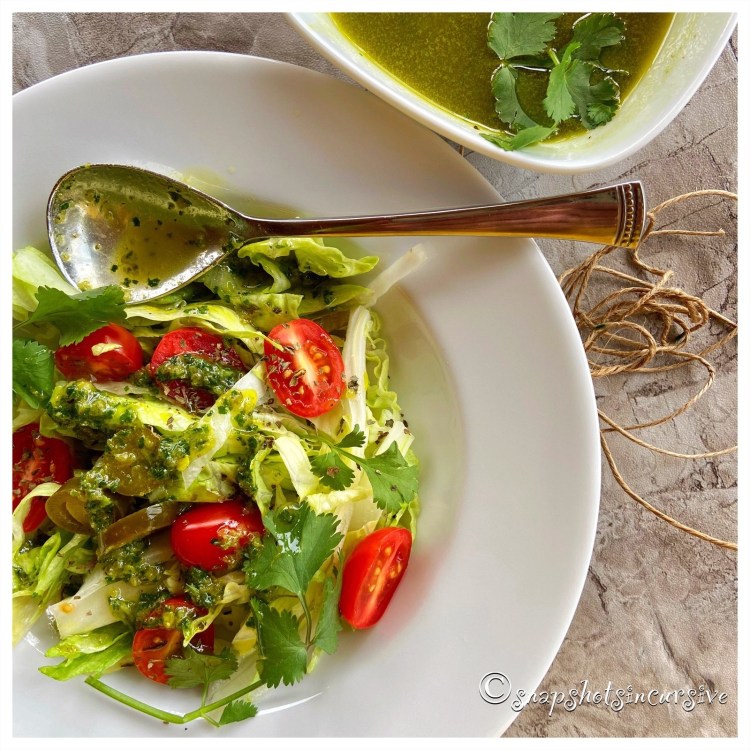
Pan-Fried Corn Tacos

What’s Cooking in Gail’s Kitchen? Stir. Spread. Flip. Repeat: Pan-Fried Corn Tacos! The aroma of toasted corn tortillas, flash-fried in hot oil, seasoned to perfection, is one you will always remember. The savory beef and cheese fillings are only enhanced by the brown and blistered outer shells. You can still stuff them with your favorite combinations.

PAN-FRIED CORN TACOS

Ingredients:

1 pound lean ground beef

1 yellow onion, chopped

1/4 teaspoon garlic powder

3 tablespoons taco seasoning mix

2 cups Mexican blend cheese, shredded

3/4 cup salsa

10 corn tortillas

Assorted toppings

Instructions:

In a large skillet over medium-high heat, sauté ground beef and chopped onion. Cook until the beef is completely cooked and onions are soft. Remove and discard the grease from the ground beef. Add garlic powder and taco seasoning mix. Combine and simmer until no liquid remains. Divide the shredded cheese among the tortillas; spoon seasoned beef on top. Fold each corn tortilla in half. Clean the skillet. Warm vegetable oil over medium-high heat. Place one stuffed tortilla into the oil for 10-15 seconds; flip and repeat until the shells are crispy. Allow the oil to drain off. Then transfer to a baking sheet. Repeat until all tacos are pan-fried. Keep warm in a 300° oven until ready to serve. Serve with additional toppings of shredded lettuce, chopped tomatoes, and salsa.

Italian Herb Grilled Corn

What’s Cooking in Gail’s Kitchen? Stir. Spread. Flip. Repeat: Italian Herb Grilled Corn! Get fired up about charred corn on the cob. By closing the lid of the grill, the corn gets slightly charred with a pleasant smoky flavor. The natural sweetness becomes an invitation to bump things up with seasoned butter…because we all know, it’s about the luscious creamy butter.

ITALIAN HERB GRILLED CORN

Ingredients:

1 teaspoon Italian herbs

1/4 teaspoon red pepper flakes

4 tablespoons butter, room temperature

4 ears corn, husked

1 tablespoon olive oil

1/2 teaspoon kosher salt

1/8 teaspoon black pepper

Instructions:

Preheat gas grill to 400°. Whisk together Italian herbs, red pepper flakes, and 4 tablespoons butter. Set side. Rub olive oil on the four ears of corn. Sprinkle with kosher salt and black pepper. Place the prepared corn directly on the grill grates. Close lid. Cook 10 minutes until tender and slightly charred, turning 4 times during cooking. Remove corn from grill and allow to cool slightly before slathering with Italian herb butter mixture. Serve.

Halibut Grilled to Perfection

What’s Cooking in Gail’s Kitchen? Stir. Spread. Flip. Repeat: Halibut Grilled to Perfection! An outdoor kitchen sure makes my life easier. I had no idea how much I would appreciate the convenience, entertainment value, and dining alfresco by the pool. What a backdrop for casual conversation and cherished memories. I’m still learning to be a seasoned “grillmaster”, but then again, that’s the fun of cooking.

HALIBUT GRILLED TO PERFECTION

Ingredients:

2 fresh halibut fillets

1 tablespoon lemon juice

2 tablespoons olive oil

1/4 teaspoon garlic powder

1/8 teaspoon sea salt

1/8 teaspoon cracked black pepper

1/8 teaspoon dried dill

Lemon wedges, for garnish

Instructions:

Preheat grill to medium-high heat. While the grill is heating, squeeze lemon juice over halibut fillets. Brush with olive oil. Season with garlic powder, sea salt, cracked black pepper, and dried dill. Once the grill is hot, spray the grill grates with nonstick oil. Place the fillets on the grill. Close the lid; cook for 5 minutes. Then flip fish fillets over and cook 5 minutes longer. Close lid. The internal temperature should be 145°. Remove the fillets from the grill and serve. Garnish with lemon wedges.

Toasted Cheese Ravioli

What’s Cooking in Gail’s Kitchen? Country Casual Cravings: Toasted Cheese Ravioli! Crunchy on the outside, creamy on the inside. Take a walk on the wild side by turning dumpling-style pasta dough into a flavorful, tart, and cheesy appetizer. Panko breadcrumbs provide a crunchier coating that taste more like a fried shell when baked. This is due to the fact that panko breadcrumbs are made from crustless bread, thereby making them have an airier texture. The results are amazing.

TOASTED CHEESE RAVIOLI

Ingredients:

8-ounces fresh cheese ravioli, found in the refrigerated section of the grocery store

1 egg

1 tablespoon milk

1/2 cup plain panko breadcrumbs

2 tablespoons grated parmesan cheese

1 teaspoon Italian seasoning

1/2 teaspoon garlic powder

1/2 teaspoon kosher salt

Marinara sauce, for dipping

Instructions:

Preheat oven to 425°. Spray a wire rack with nonstick oil. Place rack on a baking sheet. Set aside. In a shallow dish, whisk together egg and milk until fully incorporated. In another shallow dish, combine panko breadcrumbs, grated parmesan cheese, Italian seasoning, garlic powder, and kosher salt. Mix well. Working one at a time, dip ravioli in egg mixture. Allow excess to drip off before generously coating both sides with breadcrumb mixture. Place ravioli on prepared wired rack. Leave spaces between ravioli to allow even browning. Spray tops of ravioli with nonstick oil. Bake 10 minutes until ravioli is golden brown. Turn ravioli over and bake 10 minutes longer. Serve immediately with marinara sauce for dipping.

Yummy Parmesan Alfredo Sauce

What’s Cooking in Gail’s Kitchen? Here Come the Holidays: Yummy Parmesan Alfredo Sauce! If ever there was a universal sauce, this is it. Alfredo sauce isn’t just for pasta any more. Pizzerias began using it to substitute the tomato base on pizzas, pairing it with bacon, spinach, artichokes, and chicken. It makes a creamy addition to grilled seafood, poultry, or pork dishes, as well. Some enthusiasts even slather alfredo sauce on baked potatoes. It’s pure genius to pour it into a freshly baked bread bowl for dipping crudités, if you’re into that sort of thing. No matter how you spin it…butter, cream, and cheese are the star attractions. These are the ways to a woman’s heart. That, and a bouquet of fresh flowers.

YUMMY PARMESAN ALFREDO SAUCE

Ingredients:

1/2 cup butter, unsalted

1 1/2 cups light cream

2 teaspoons garlic, minced

1/2 teaspoon Italian seasoning

1/2 teaspoon sea salt

1/4 teaspoon black pepper

2 tablespoons Neufchâtel cheese, softened

2 cups parmesan cheese, grated

Instructions:

In a large skillet over medium heat, warm butter. Add light cream. Reduce heat and simmer over Low heat for 2 minutes, stirring gently. Whisk in minced garlic, Italian seasoning, sea salt, and black pepper. Add Neufchâtel cheese; stir to incorporate. Slowly add parmesan cheese; whisk until completely melted. Keep warm prior to serving.

Xtra Tender Crockpot Carrots

What’s Cooking in Gail’s Kitchen? Here Come the Holidays: Xtra Tender Crockpot Carrots! Take advantage of a favorite workhorse at your disposal for men and women alike. Some call it a crockpot (from the 1970s) while others refer to it as a modern-day slow cooker. It basically became popular because it was a handy appliance that could be filled with traditional stew ingredients left to cook slowly all day long. People plugged it in and trotted off to work. When they returned home, the entire house was filled with savory aromas that could make a macho man weep. The only thing missing was the synthesized beat of the disco hit by the Village People. Now I’m really dating myself.

XTRA TENDER CROCKPOT CARROTS

Instructions:

2 pounds whole carrots, washed and peeled

1/3 cup apricot jam

6 tablespoons butter, melted

2 tablespoons raw honey

2 tablespoons brown sugar

1 teaspoon balsamic vinegar

1 teaspoon garlic powder

3/4 teaspoon kosher salt

1/4 teaspoon dried thyme

1/4 teaspoon dry mustard

1/4 teaspoon black pepper

1 1/2 tablespoons cornstarch

1 1/2 tablespoons water

Instructions:

Trim carrots, as needed, to fit lengthwise in a crockpot or slow cooker. Remove all but an inch of the carrot tops. In a bowl, combine apricot jam, melted butter, raw honey, brown sugar, balsamic vinegar, garlic powder, kosher salt, dried thyme, dry mustard, and black pepper. Stir until thoroughly mixed. In a glass measuring cup, whisk together cornstarch and water. Pour into the apricot sauce. Stir well. Drizzle apricot sauce over carrots. Cover crockpot. Cook on LOW setting for 5-6 hours, or until tender. Carrots are done when pierced easily with a fork. Serve immediately.

Wild Rice Sausage Stuffing

What’s Cooking in Gail’s Kitchen? Here Come the Holidays: Wild Rice Sausage Stuffing! For those who really crave the taste of stuffing, here’s an idea for a meal-in-one-dish. Some people may call it a “casserole” since it contains crumbled pork sausage, mixed vegetables, bread stuffing, and wild rice grains. Either way, you’re going to want to bookmark and print this recipe. It’s that good. Of course, you can make the serving portions a little smaller and serve it as a side dish with roasted chicken, turkey, or a Cornish hen like I did. Wild Rice Sausage Stuffing can easily be made a day ahead of time and gently reheated when you need it. Leftovers can be frozen up to three months. I believe I just saw your face light up. Trust me, your family will thank you. They may even offer to load the dishwasher.

WILD RICE SAUSAGE STUFFING

Ingredients:

6-ounce package long grain and wild rice mix

1 pound bulk sausage

1/4 cup butter, cubed

1 cup yellow onion, chopped

1 cup celery, chopped

4-ounce can mushrooms, stems and pieces, drained

6-ounce package chicken stuffing cubes

2 eggs, beaten

3 cups chicken broth

1/4 teaspoon seasoned pepper

1/8 teaspoon poultry seasoning

Instructions:

Preheat oven to 350°. Spray a 9”x13” baking dish with nonstick oil. Set aside. Cook wild rice according to package directions. Set aside. Brown sausage until cooked and crumbled; drain. Set aside. In a large skillet over medium-high heat, warm butter. Sauté onion and celery pieces until tender, 4-5 minutes. Do not burn. In a large bowl, combine wild rice, sausage crumbles, sautéed onions/celery mixture, and mushrooms. Stir well. Fold in chicken stuffing cubes. Add beaten eggs, chicken broth, seasoned pepper and poultry seasoning. Stir thoroughly. Transfer to the prepared baking dish. Bake 45 minutes or until a thermometer reads 160°. Serve warm.

Versatile Fig-Glazed Cornish Hen

What’s Cooking in Gail’s Kitchen? Here Come the Holidays: Versatile Fig-Glazed Cornish Hen! When an evening meal becomes a dinner date for two, make it extra-special by choosing something out of the ordinary. A luxury, so to speak. Cornish hens are an individual serving, which makes them that much more appealing on the dinner plate. Typically they run in size around 1 1/2 pounds, which is perfect. The meat is quite tender and moist with a subtle chicken flavor. Whether it’s a romantic celebration or just because, turn on some music, open a bottle of wine, gaze into each other’s eyes, and enjoy the ambiance. Candlelight is purely optional.

VERSATILE FIG-GLAZED CORNISH HEN

Ingredients for Cornish Hens:

20-ounce each Cornish hens, twin pack, frozen and thawed

1 teaspoon kosher salt

1/4 teaspoon black pepper

2 sprigs fresh rosemary

2 tablespoons unsalted butter, room temperature

Ingredients for Fig Glaze:

1/4 cup chili-fig jam

1/4 cup port wine

1/4 cup balsamic reduction

1/4 cup unsalted butter

Freshly squeezed lemon juice, quarter lemon

Pinch of kosher salt

Cracked black pepper

Instructions:

Preheat oven to 400°. Spray a dutch oven with nonstick oil. Set aside. Wash the Cornish hens; pat dry. Season the cavities with kosher salt and cracked black pepper. Place a rosemary sprig inside. Secure the legs and wings with cooking twine. Transfer birds to the dutch oven. Dot the top of each Cornish hen with butter. Bake 45 minutes. While the hens are roasting, make the fig glaze. Place a small pan on the stovetop over medium-high heat. Add chili-fig jam, port wine, balsamic reduction, butter, lemon juice, kosher salt, and black pepper. Stir well to combine. Allow mixture to reduce to a syrupy consistency, about 20 minutes, stirring occasionally. Baste the birds with the fig sauce during the last 10 minutes of roasting. The Cornish hens are done when a meat thermometer inserted into the thickest part of the thigh registers 165°, and juices run clear. The skin should be golden brown and crispy. Remove pan from oven. Tent the pan with aluminum foil to keep warm. Allow the birds to rest for 10 minutes before serving.

Mexican Tarragon Turkey Breast

What’s Cooking in Gail’s Kitchen? Here Come the Holidays: Mexican Tarragon Turkey Breast! If you’re tired of the “same old, same old”, ways of preparing poultry, try something a little different. Mexican tarragon can easily catapult chicken and turkey to gourmet status. First of all, that slight hint of licorice may go unnoticed in a café chicken salad sandwich. Yet, something tastes extraordinary. If only you could put your finger on it. So, you go on with your day perhaps thinking you were hungrier than usual and would have devoured anything. Until memory flashback, in the form of a craving, stimulates the taste buds for an encore. The quest is on for the heat-loving herb with the green narrow leaves and golden flowers. Who knows, it may end up as a regular plant in your garden herb bed.

MEXICAN TARRAGON TURKEY BREAST

Ingredients:

3 tablespoons Mexican tarragon leaves, chopped

2 tablespoons olive oil

1/2 teaspoon poultry seasoning

1/2 teaspoon seasoned salt

1/8 teaspoon white pepper

3-pound turkey breast, bone in

Sprigs of Mexican tarragon, for garnish

Instructions:

Preheat oven to 325°. Combine chopped Mexican tarragon leaves, olive oil, poultry seasoning, seasoned salt, and white pepper. Wash turkey breast; pat dry. Using your fingers, loosen skin of turkey breast. Rub half the mixture under the skin. Secure skin to the underside of breast with toothpicks. Brush outside of turkey with remaining mixture. Place turkey breast on a rack in a roasting pan. Roast until a meat thermometer reads 170°, about two hours. Remove from oven; tent with foil. Allow to rest 15 minutes. Remove and discard turkey skin and toothpicks before carving. Transfer turkey slices to a platter. Garnish with sprigs of Mexican tarragon. Serve warm.